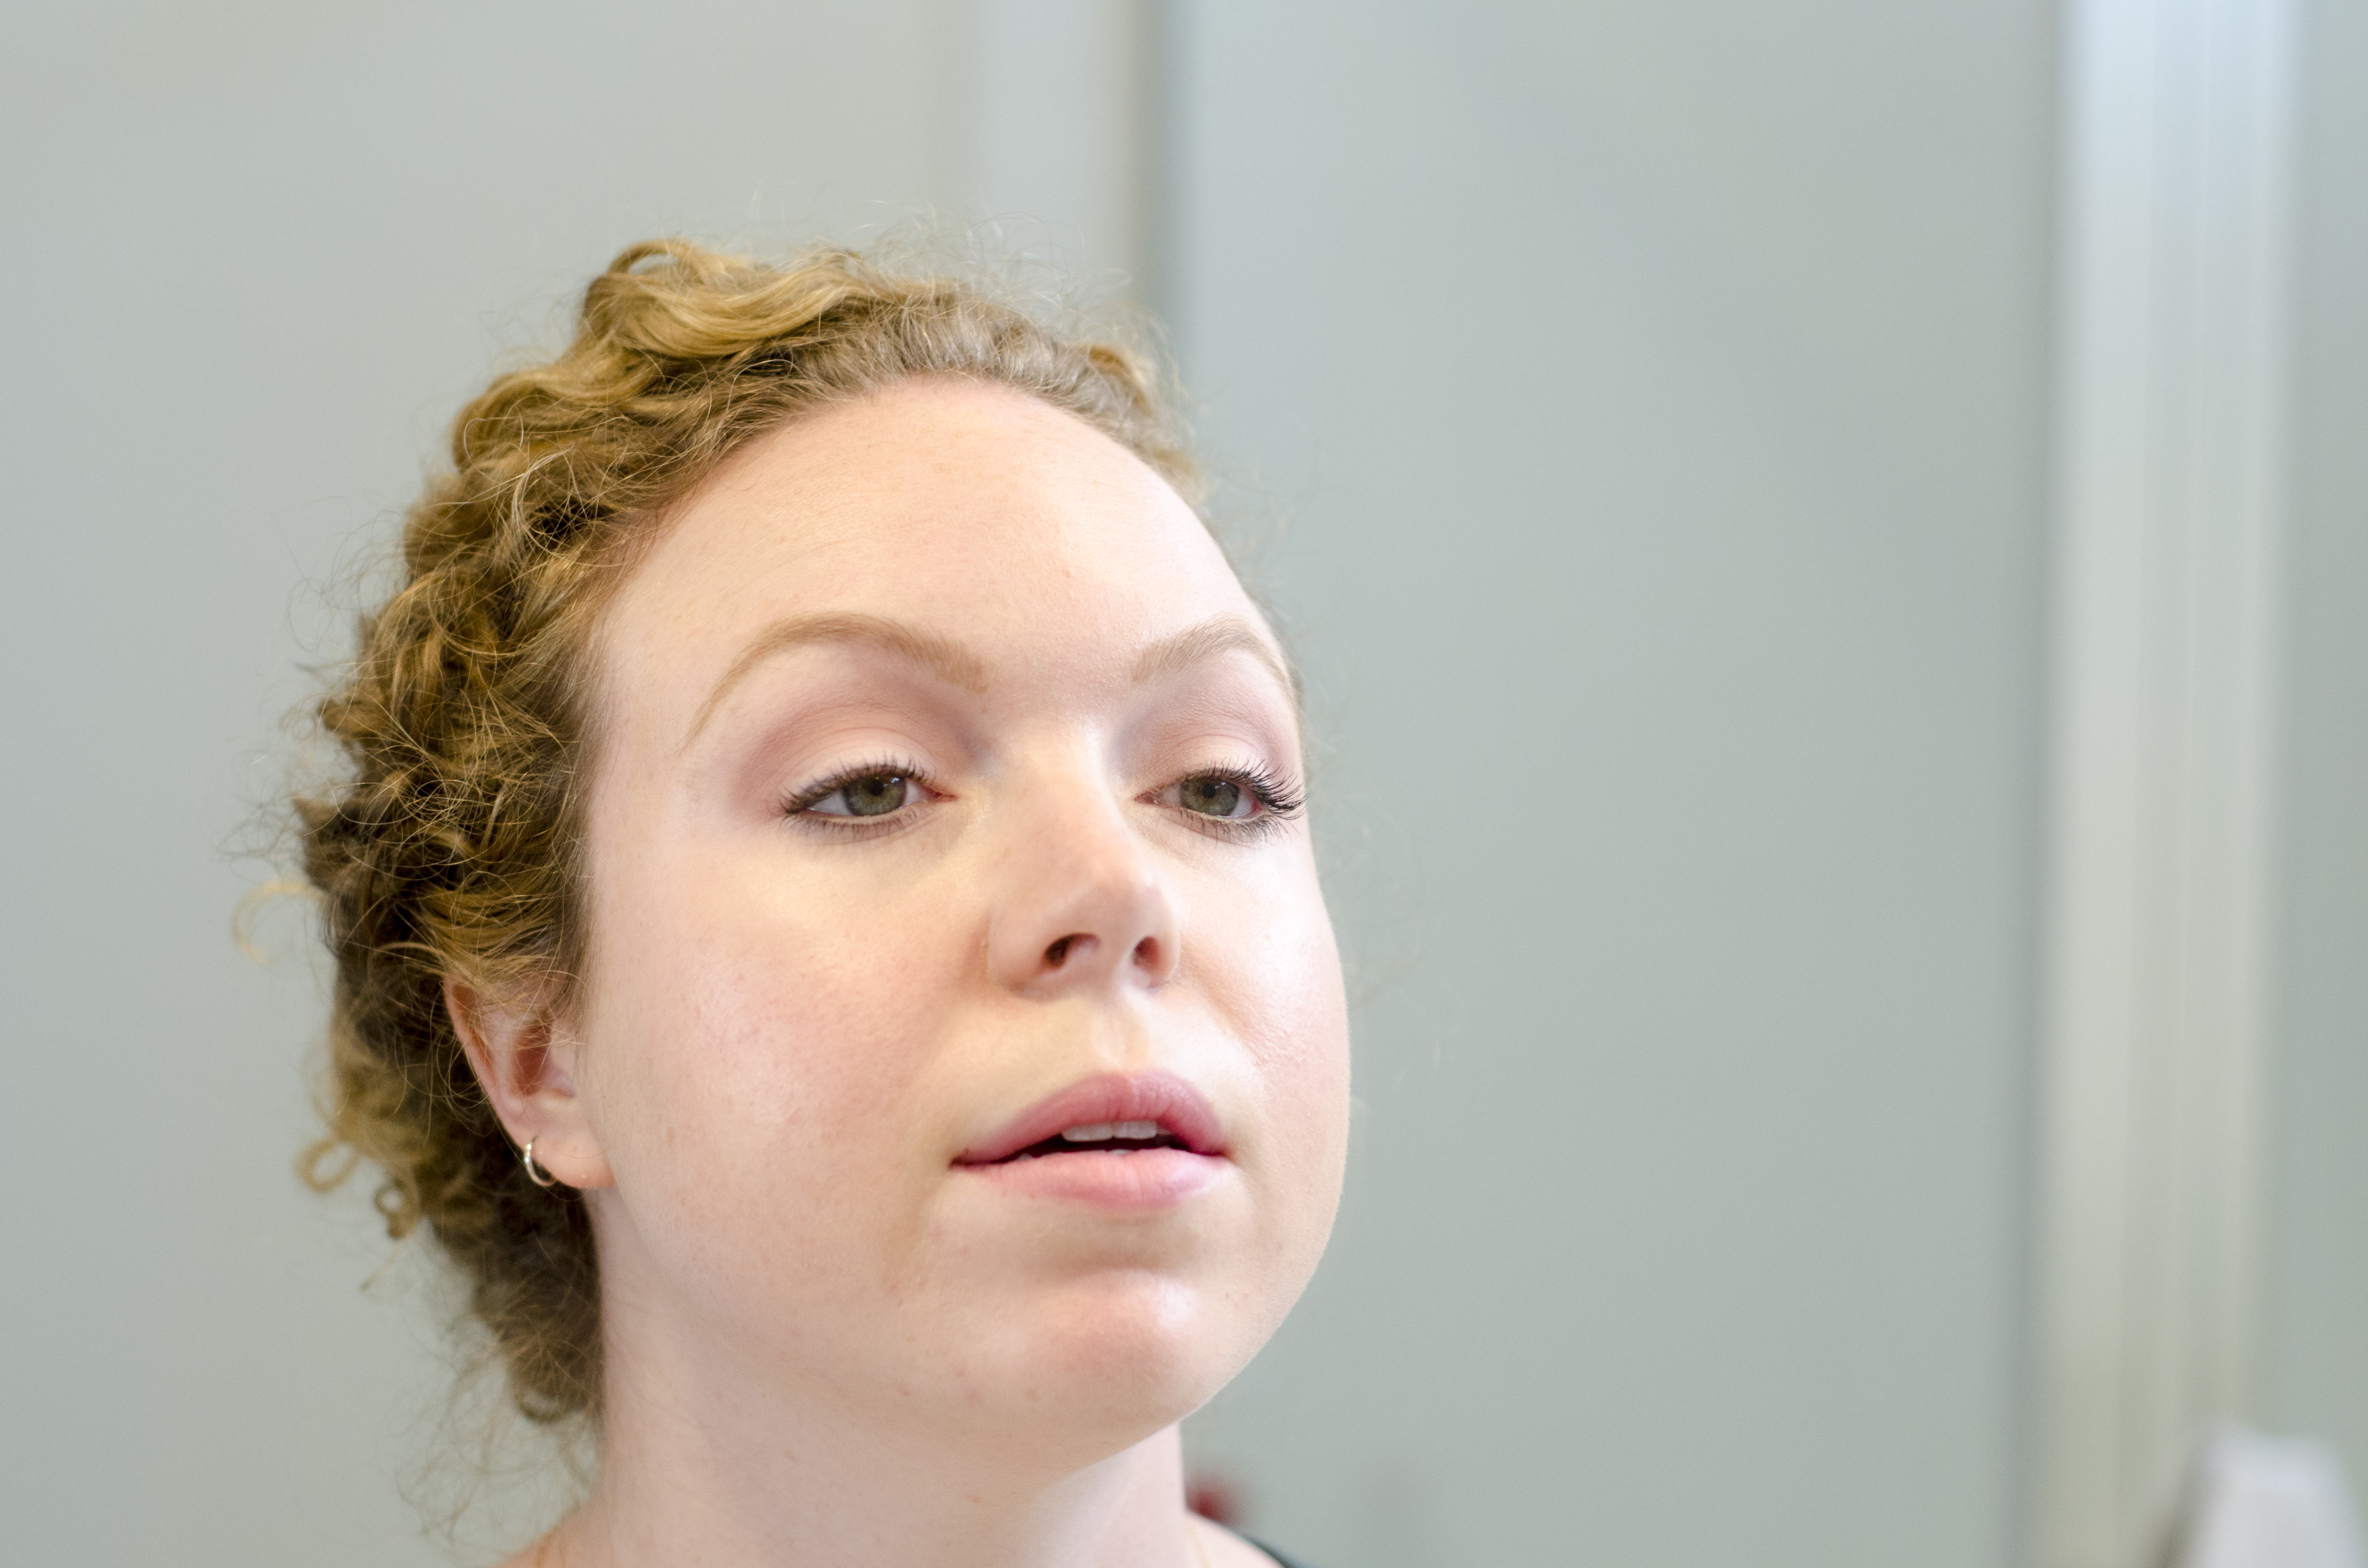
Do you struggle with creating a flawless eyeshadow look? Do you wonder where to place different shades on your eyelids? Can you never seem to recreate the eyeshadow looks you see on the runaway or pages of a magazine? Your problems are finally over! I’ve compiled an easy step by step guide to recreating the perfect, universal eyeshadow look. This look is simple enough for an everyday look, or can be glammed up for a special occasion.
The key to a great eyeshadow look are the right brushes – unfortunately, those sponge tip applicators you get for free in most palettes don’t quite cut it. You only need 2 brushes for this look, a must for any makeup collection: a shader brush and fluffy blending brush.

- The first step is to apply eyeshadow primer all over the lid or this look will not last throughout the day/shadows won’t look as pigmented.
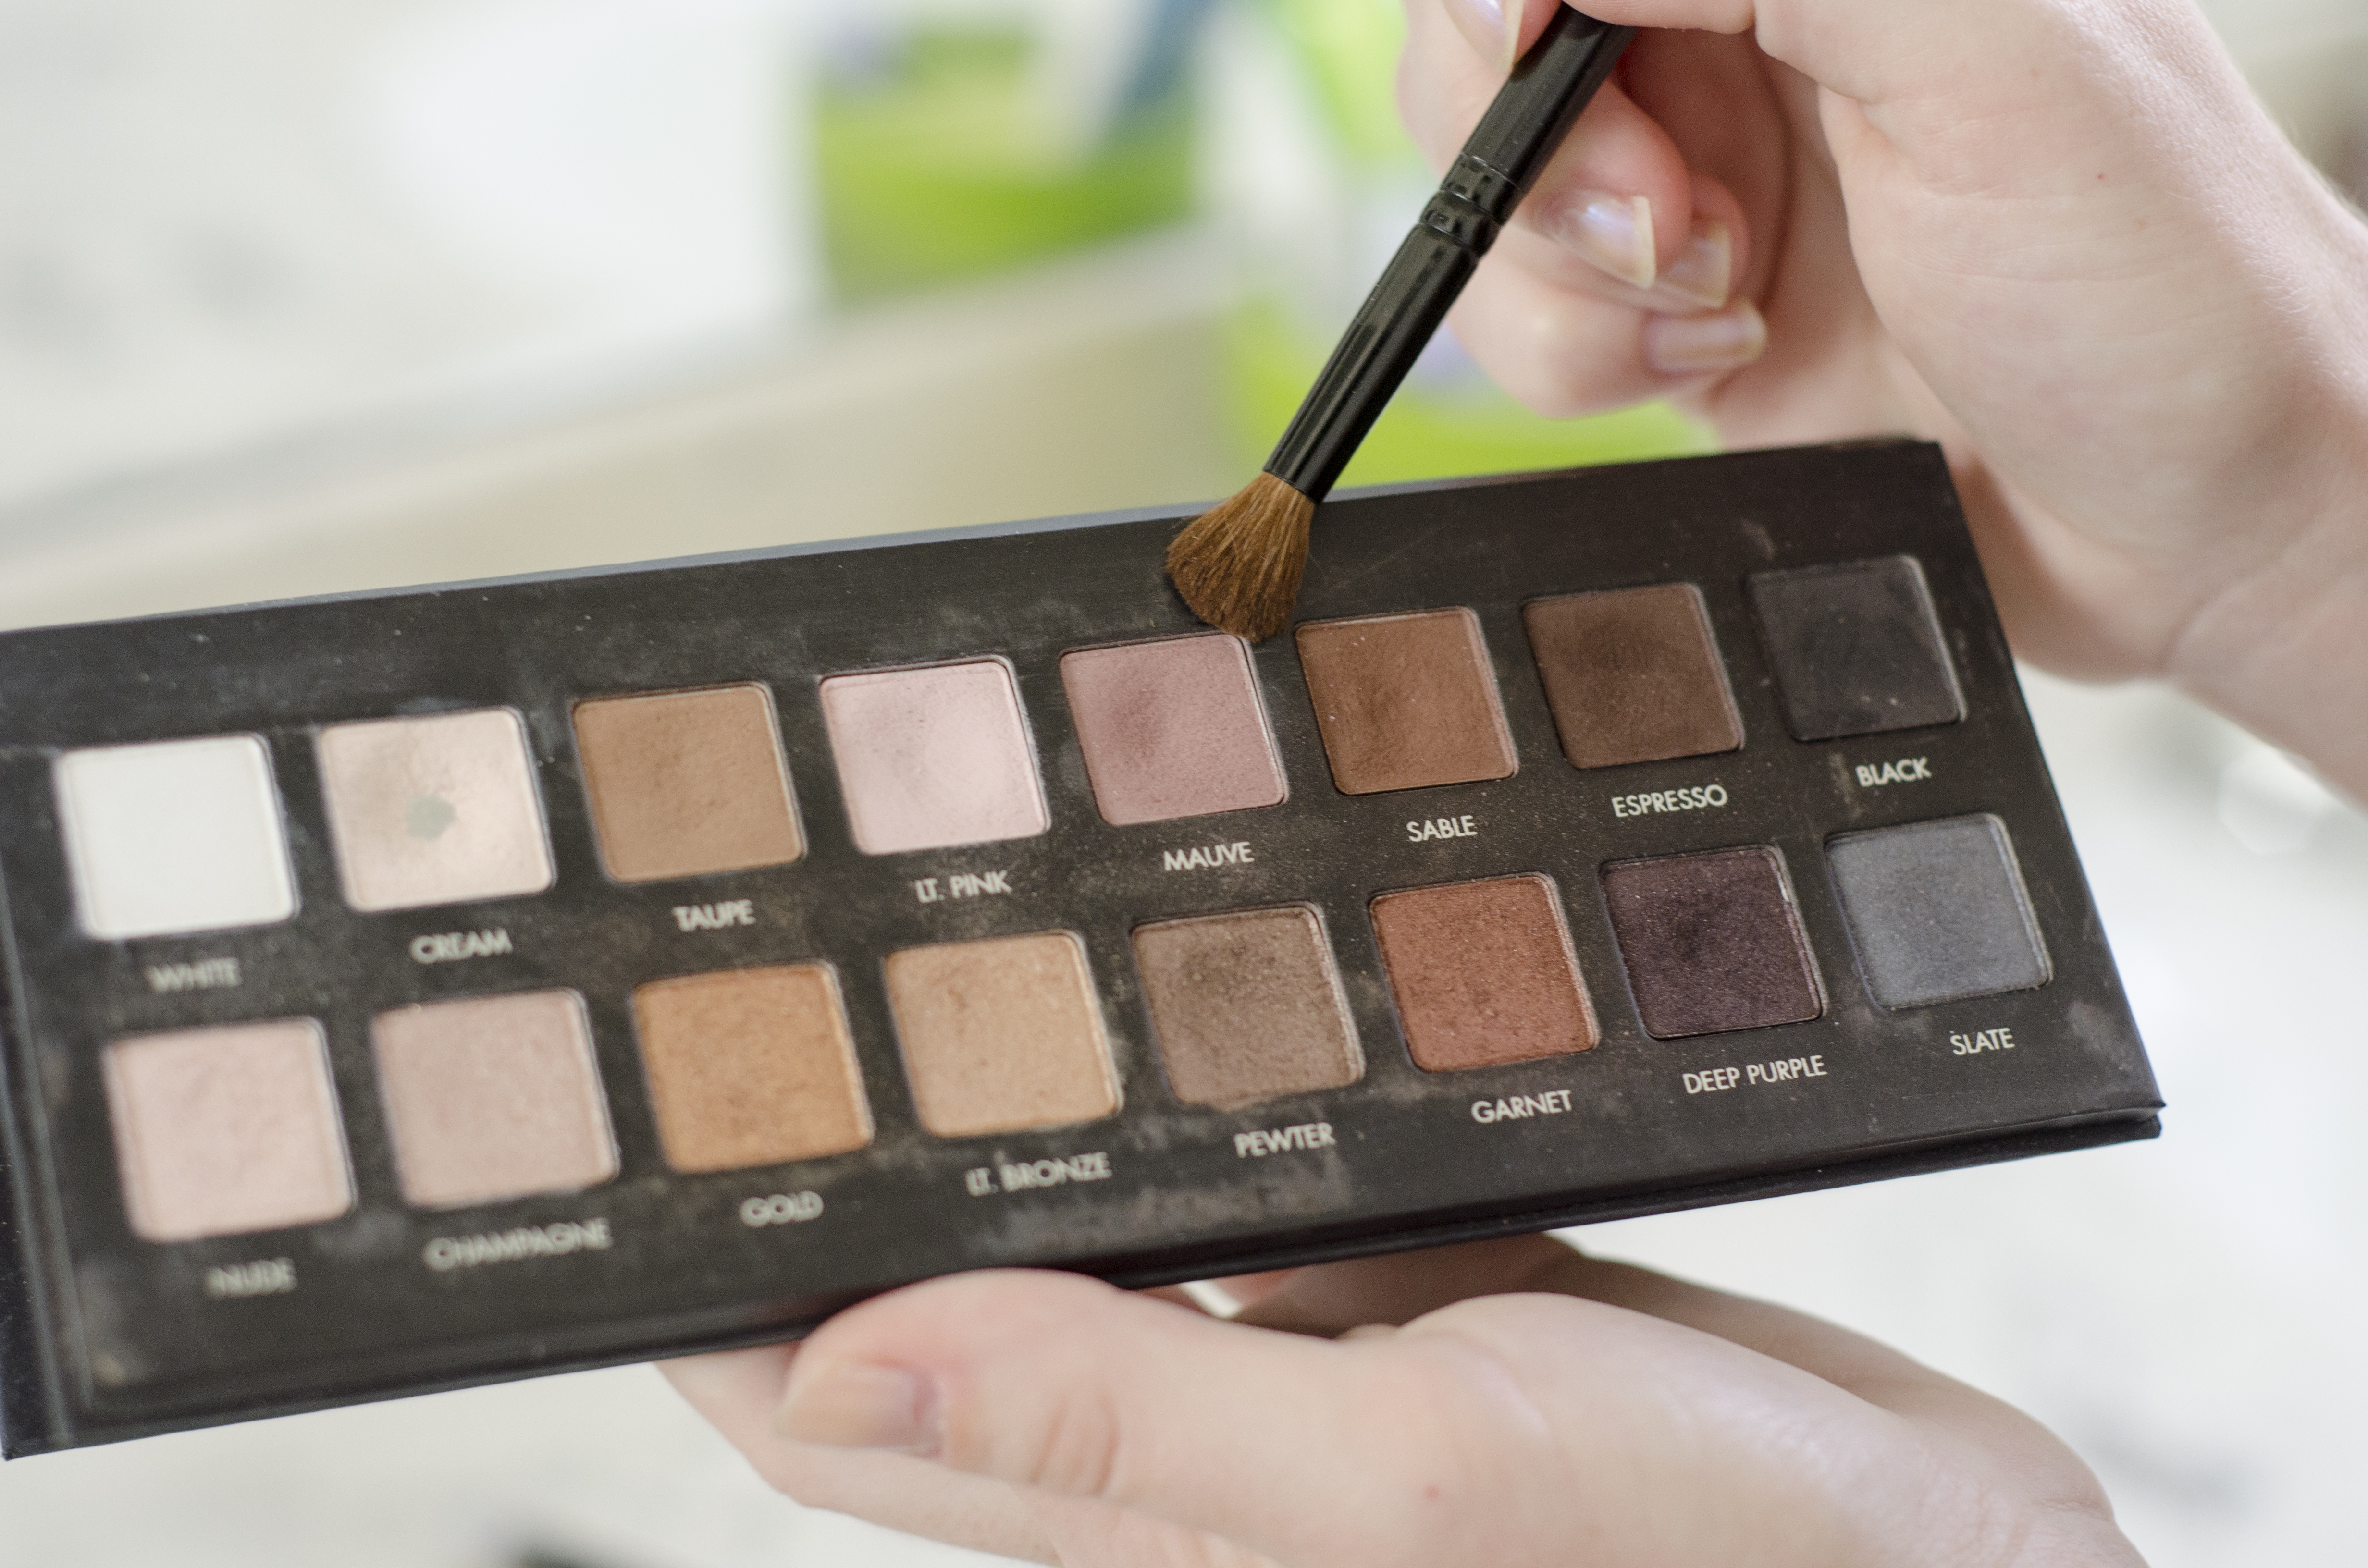
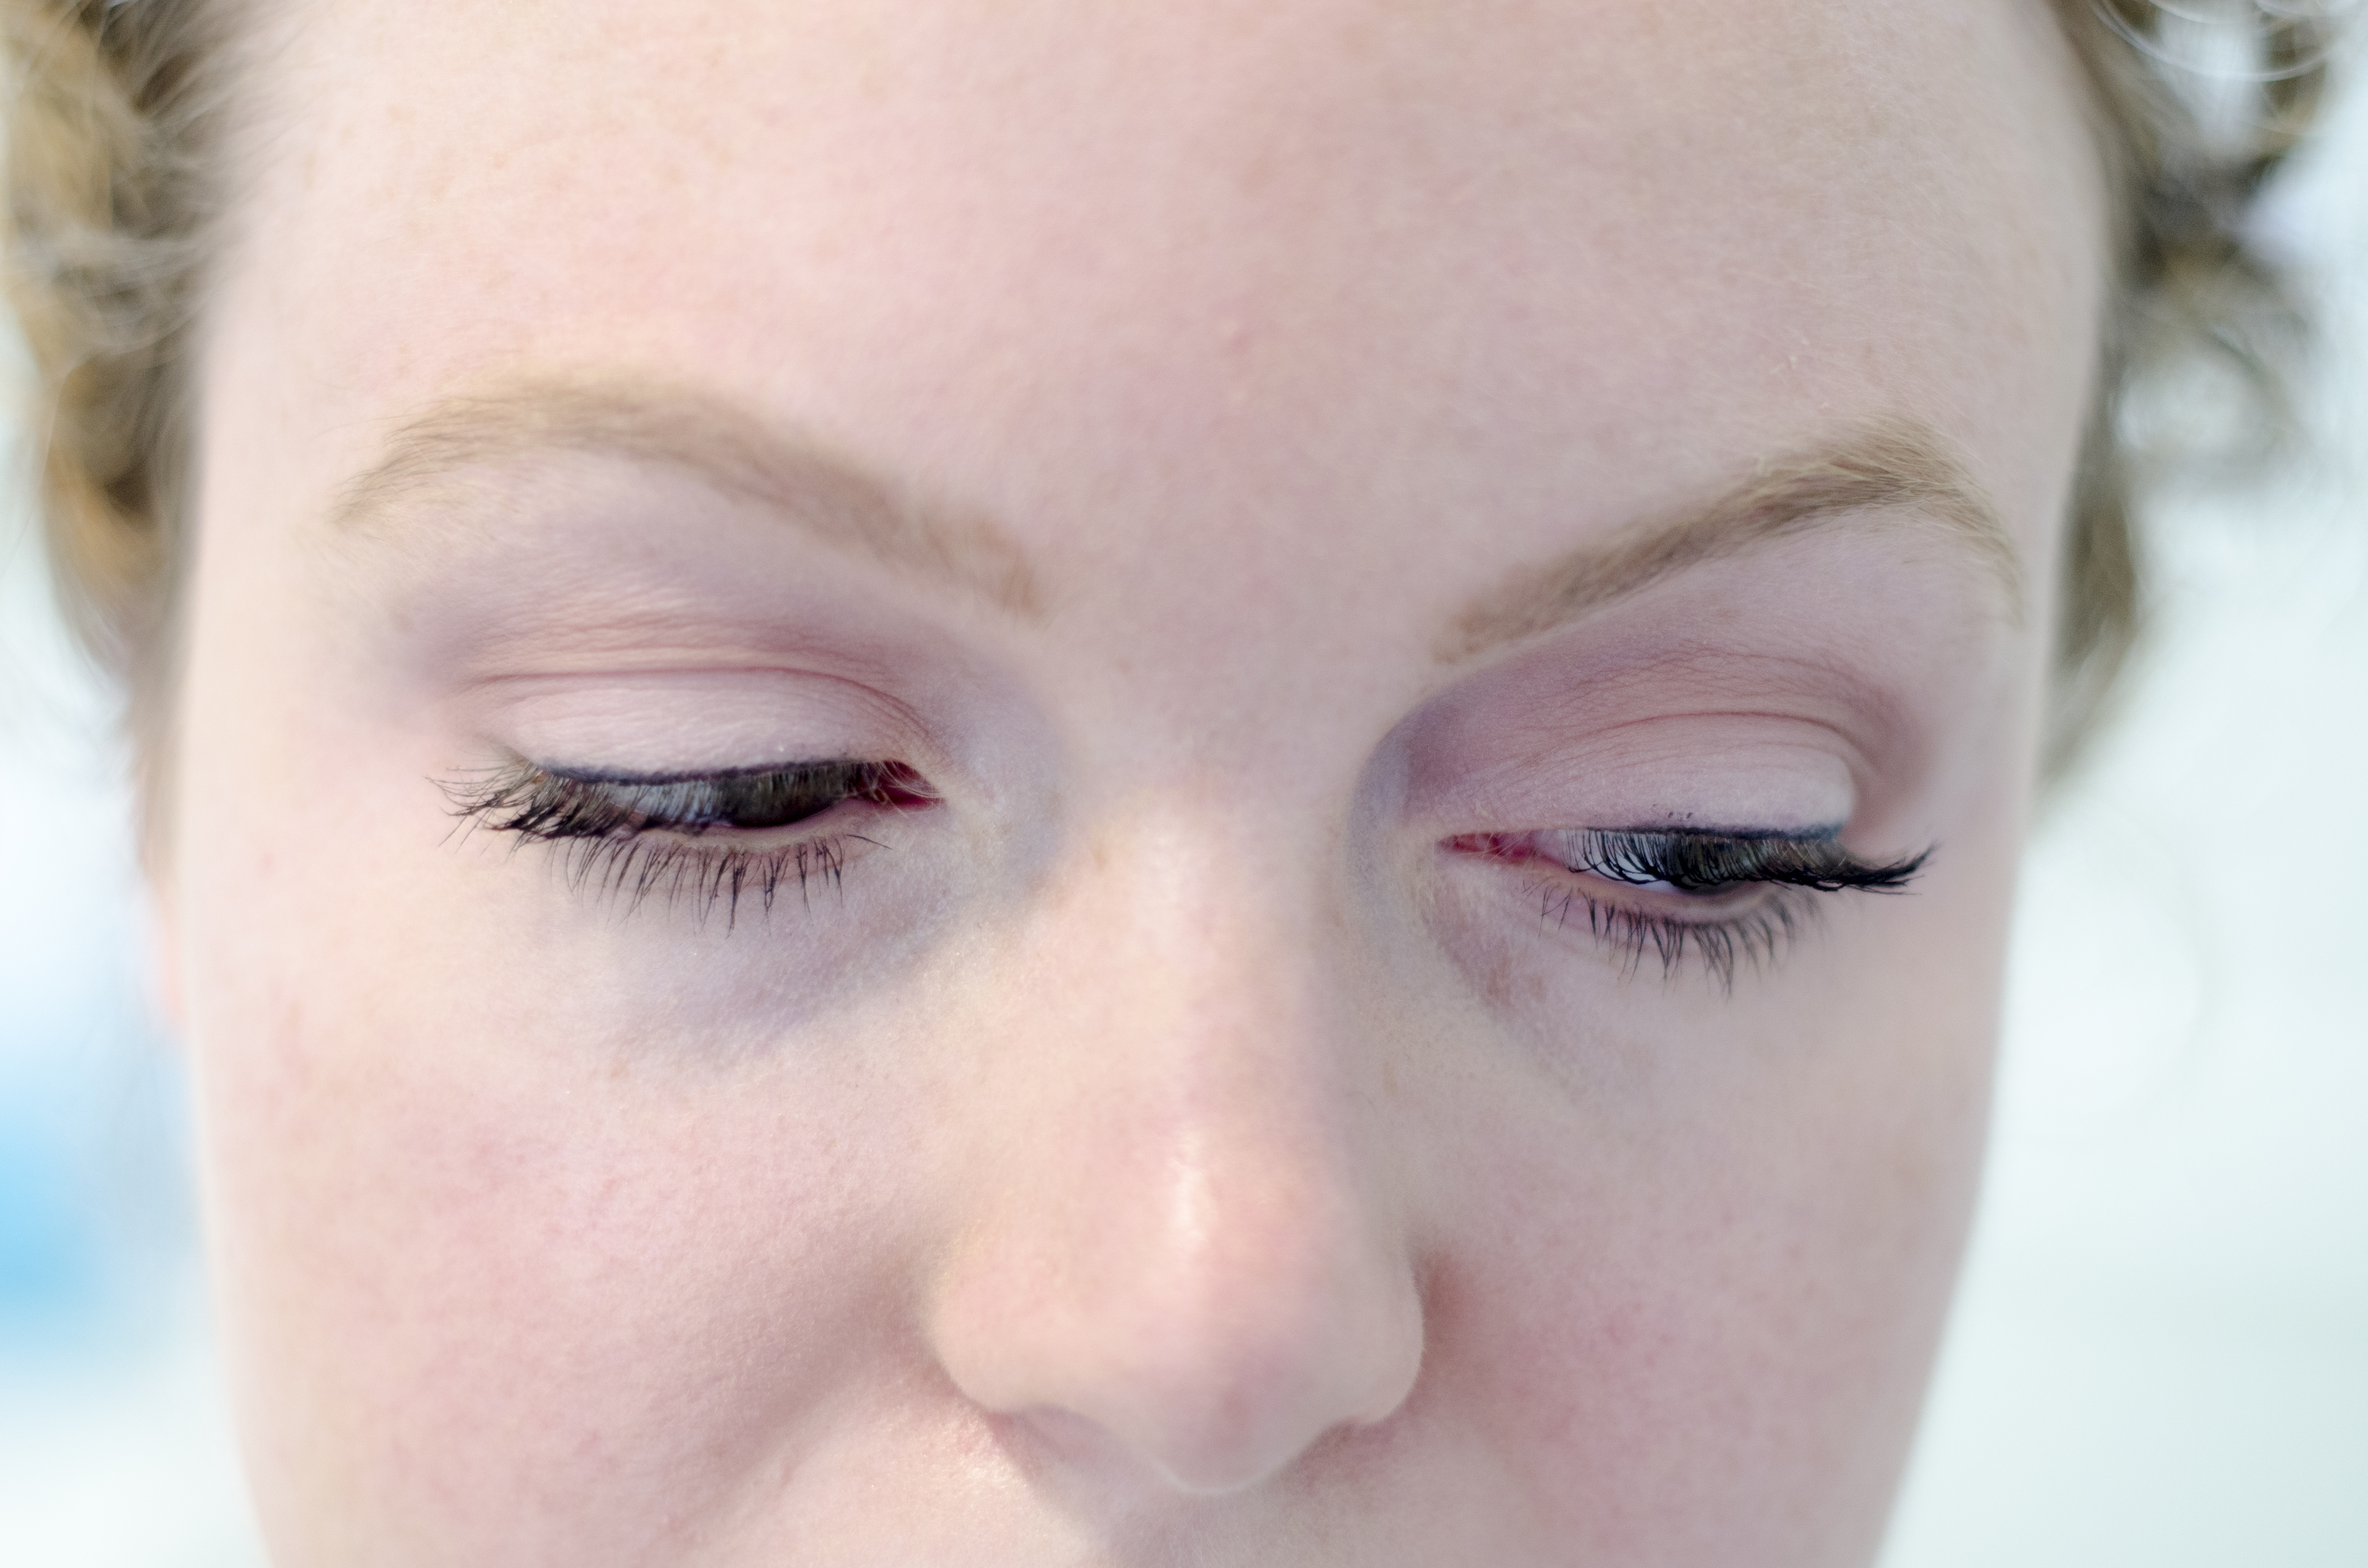
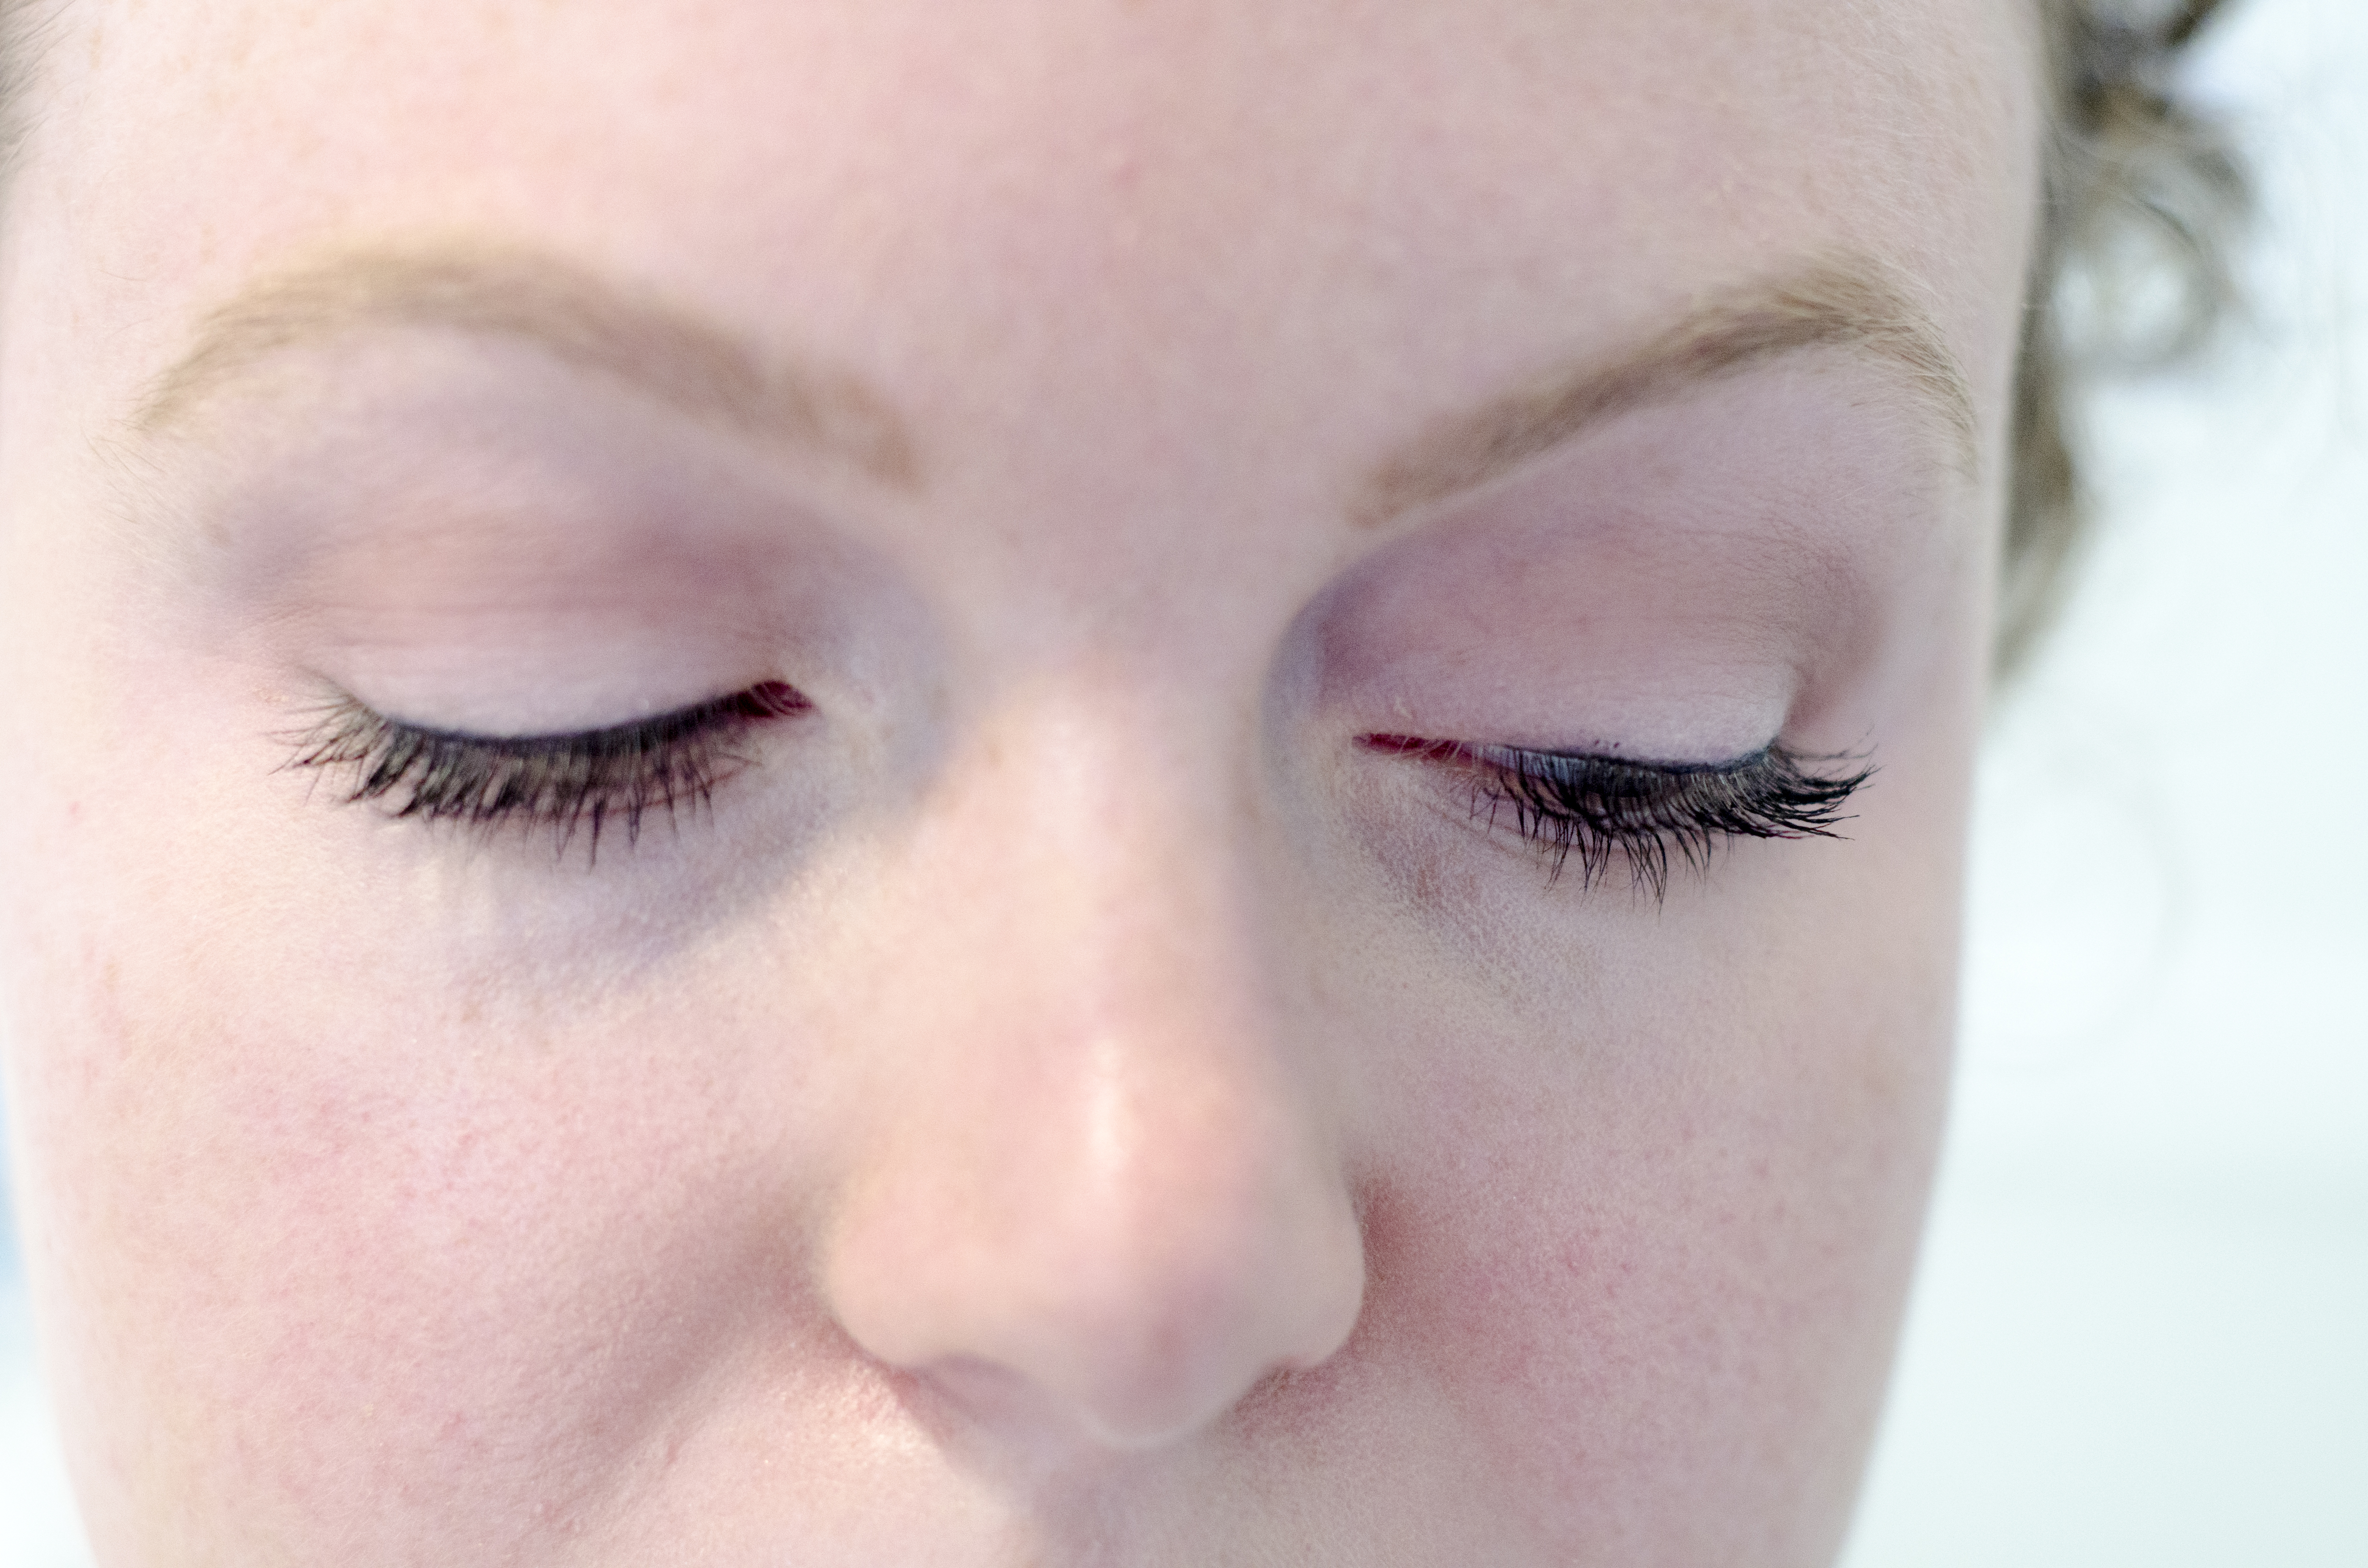
- Then, dip your shader brush into your first light color (I used “Cream” pictured below). This brush is used to pick up a large amount of color so you can apply all over your lid – this is not a precision brush. Apply shadow all the way from the upper lash line to the just beneath the eye brow.

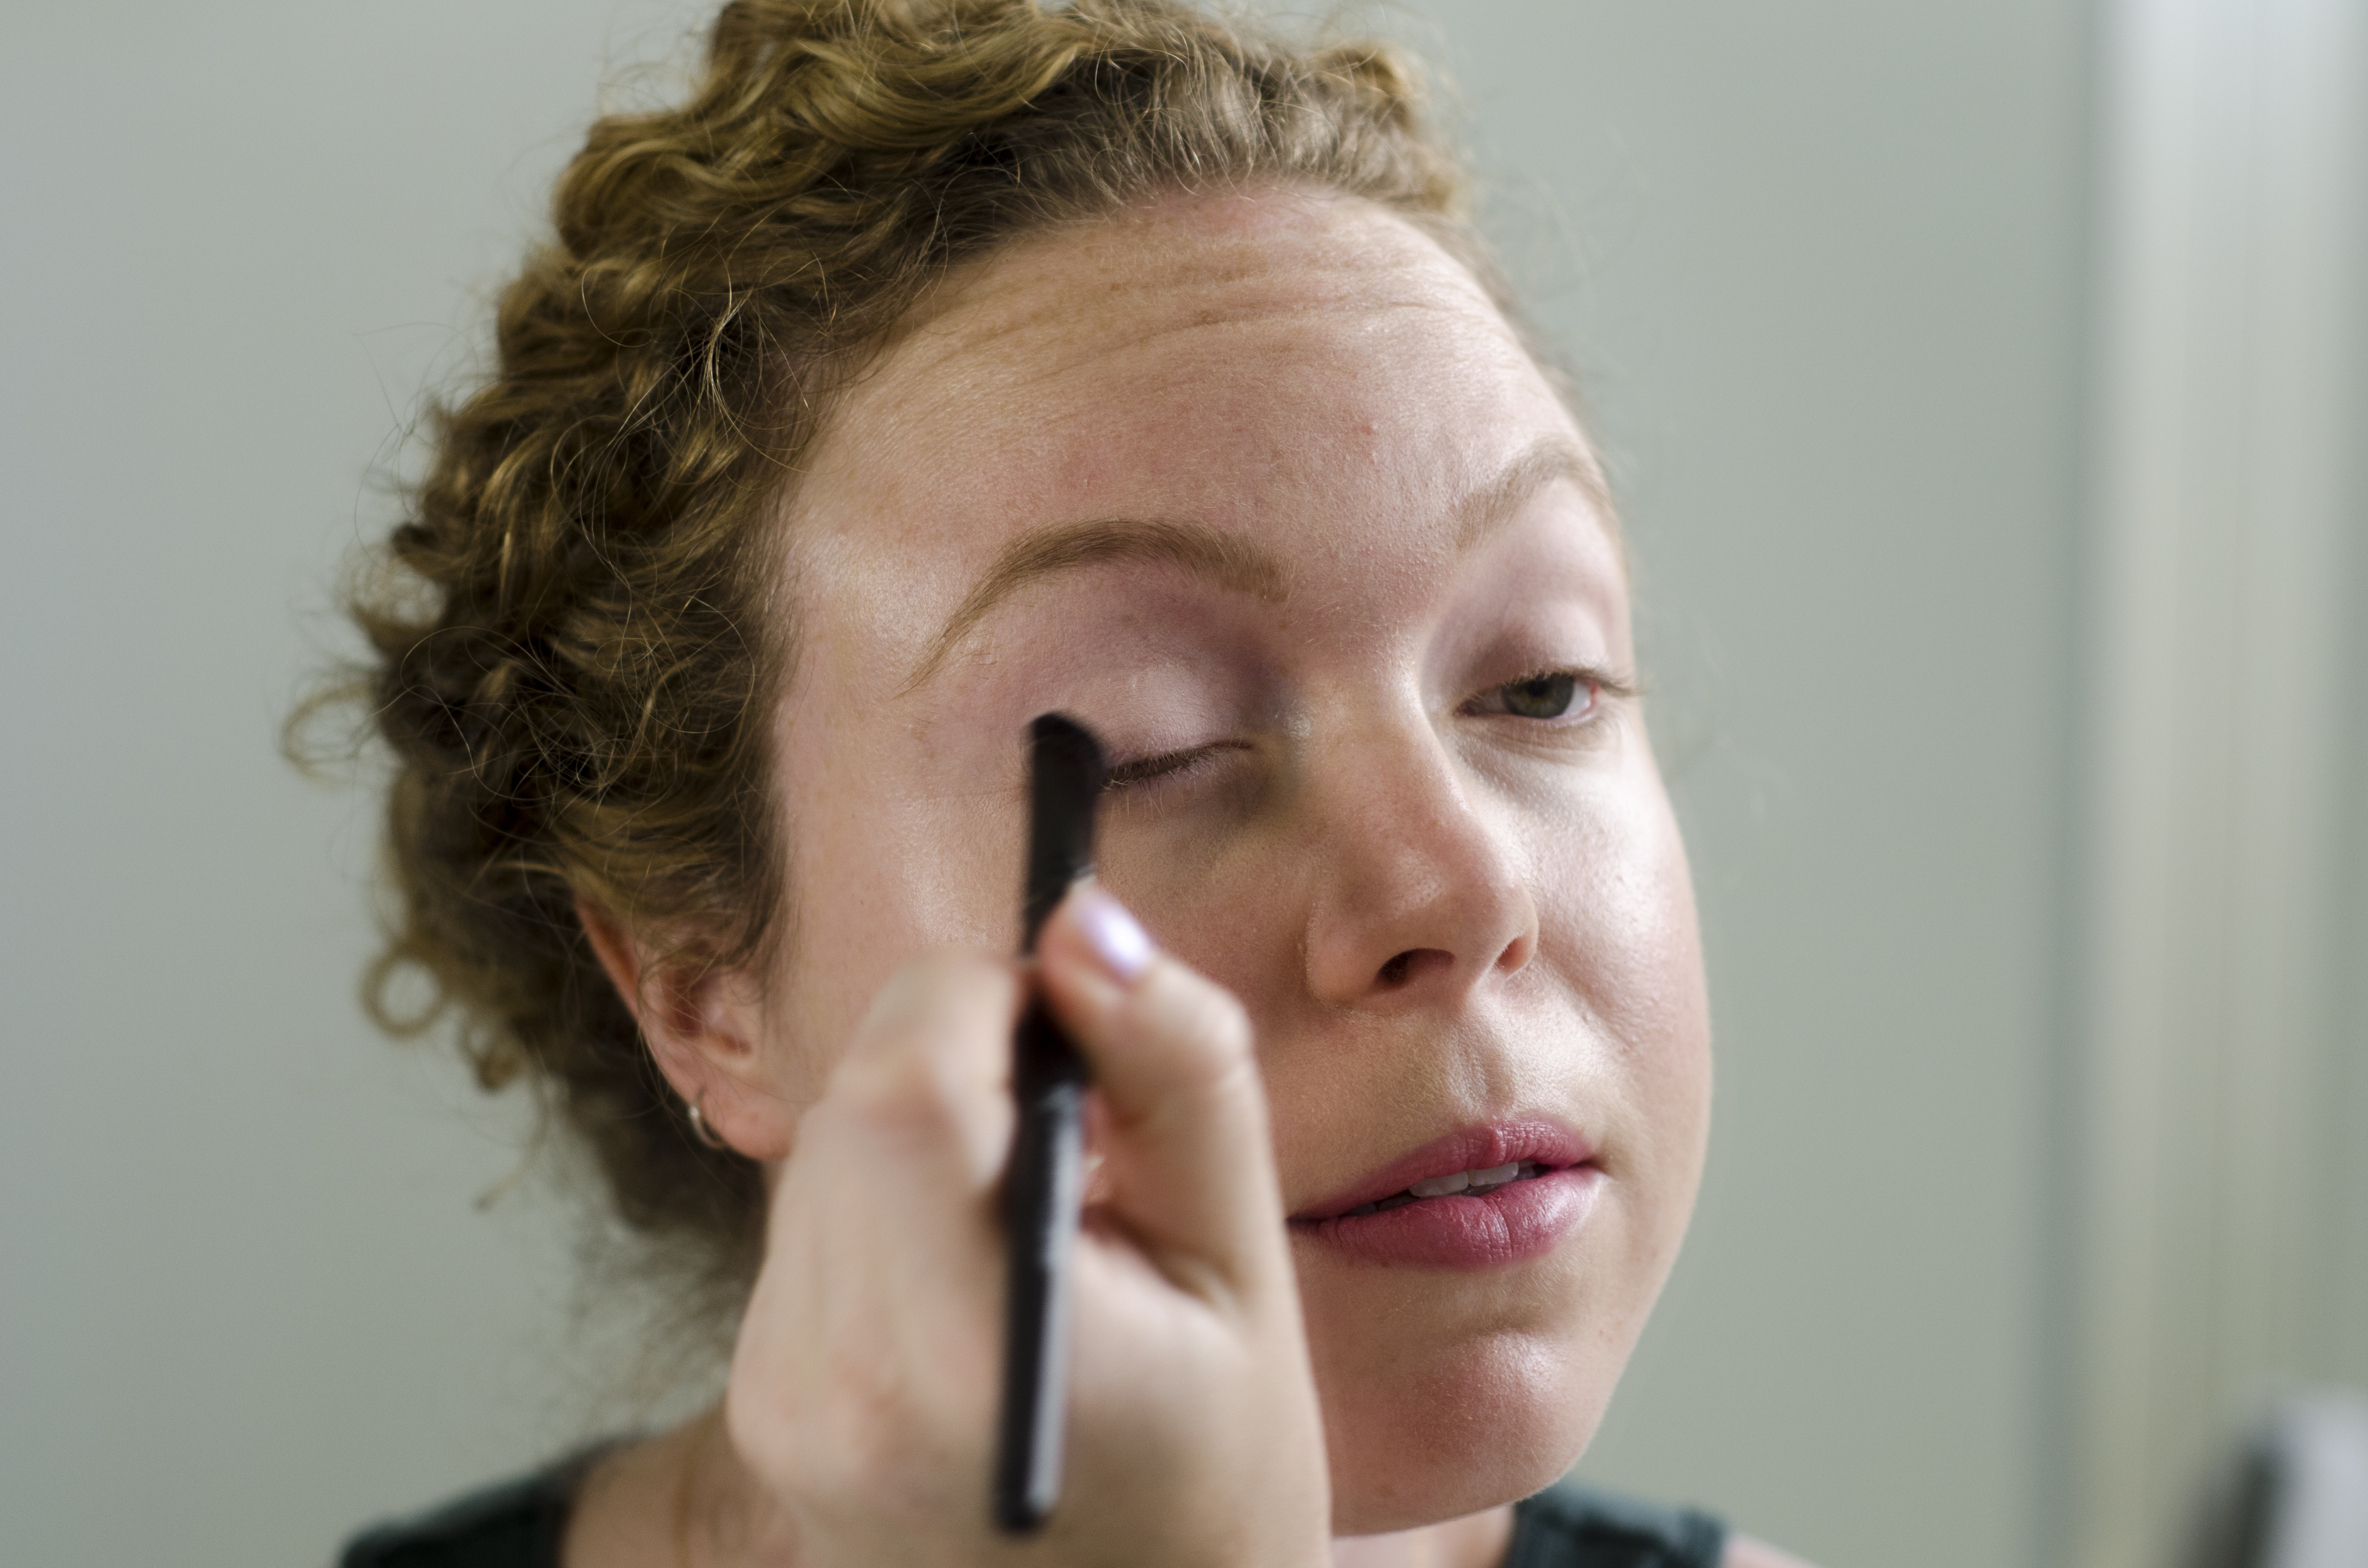
- Next, you need to locate the crease of your eye. This is where we are going to apply our second, darker shade. I would recommend dark purples/mauves, blues/greens, or browns instead of black. Take your fluffy blending brush and pick up just a little bit of color (remember, you can always apply more!), I used “Mauve” pictured below. It’s going to look a bit harsh and messy until we blend it out.


- Keep in mind – blending for any eyeshadow look is key!!!
- Blend out the eyeshadow you just applied to your crease, before applying more. Wipe off your blending brush to prevent adding any more color. Blend your eyeshadow by lightly swiping your brush along your crease. The base color helps the transition be less harsh on your crease.

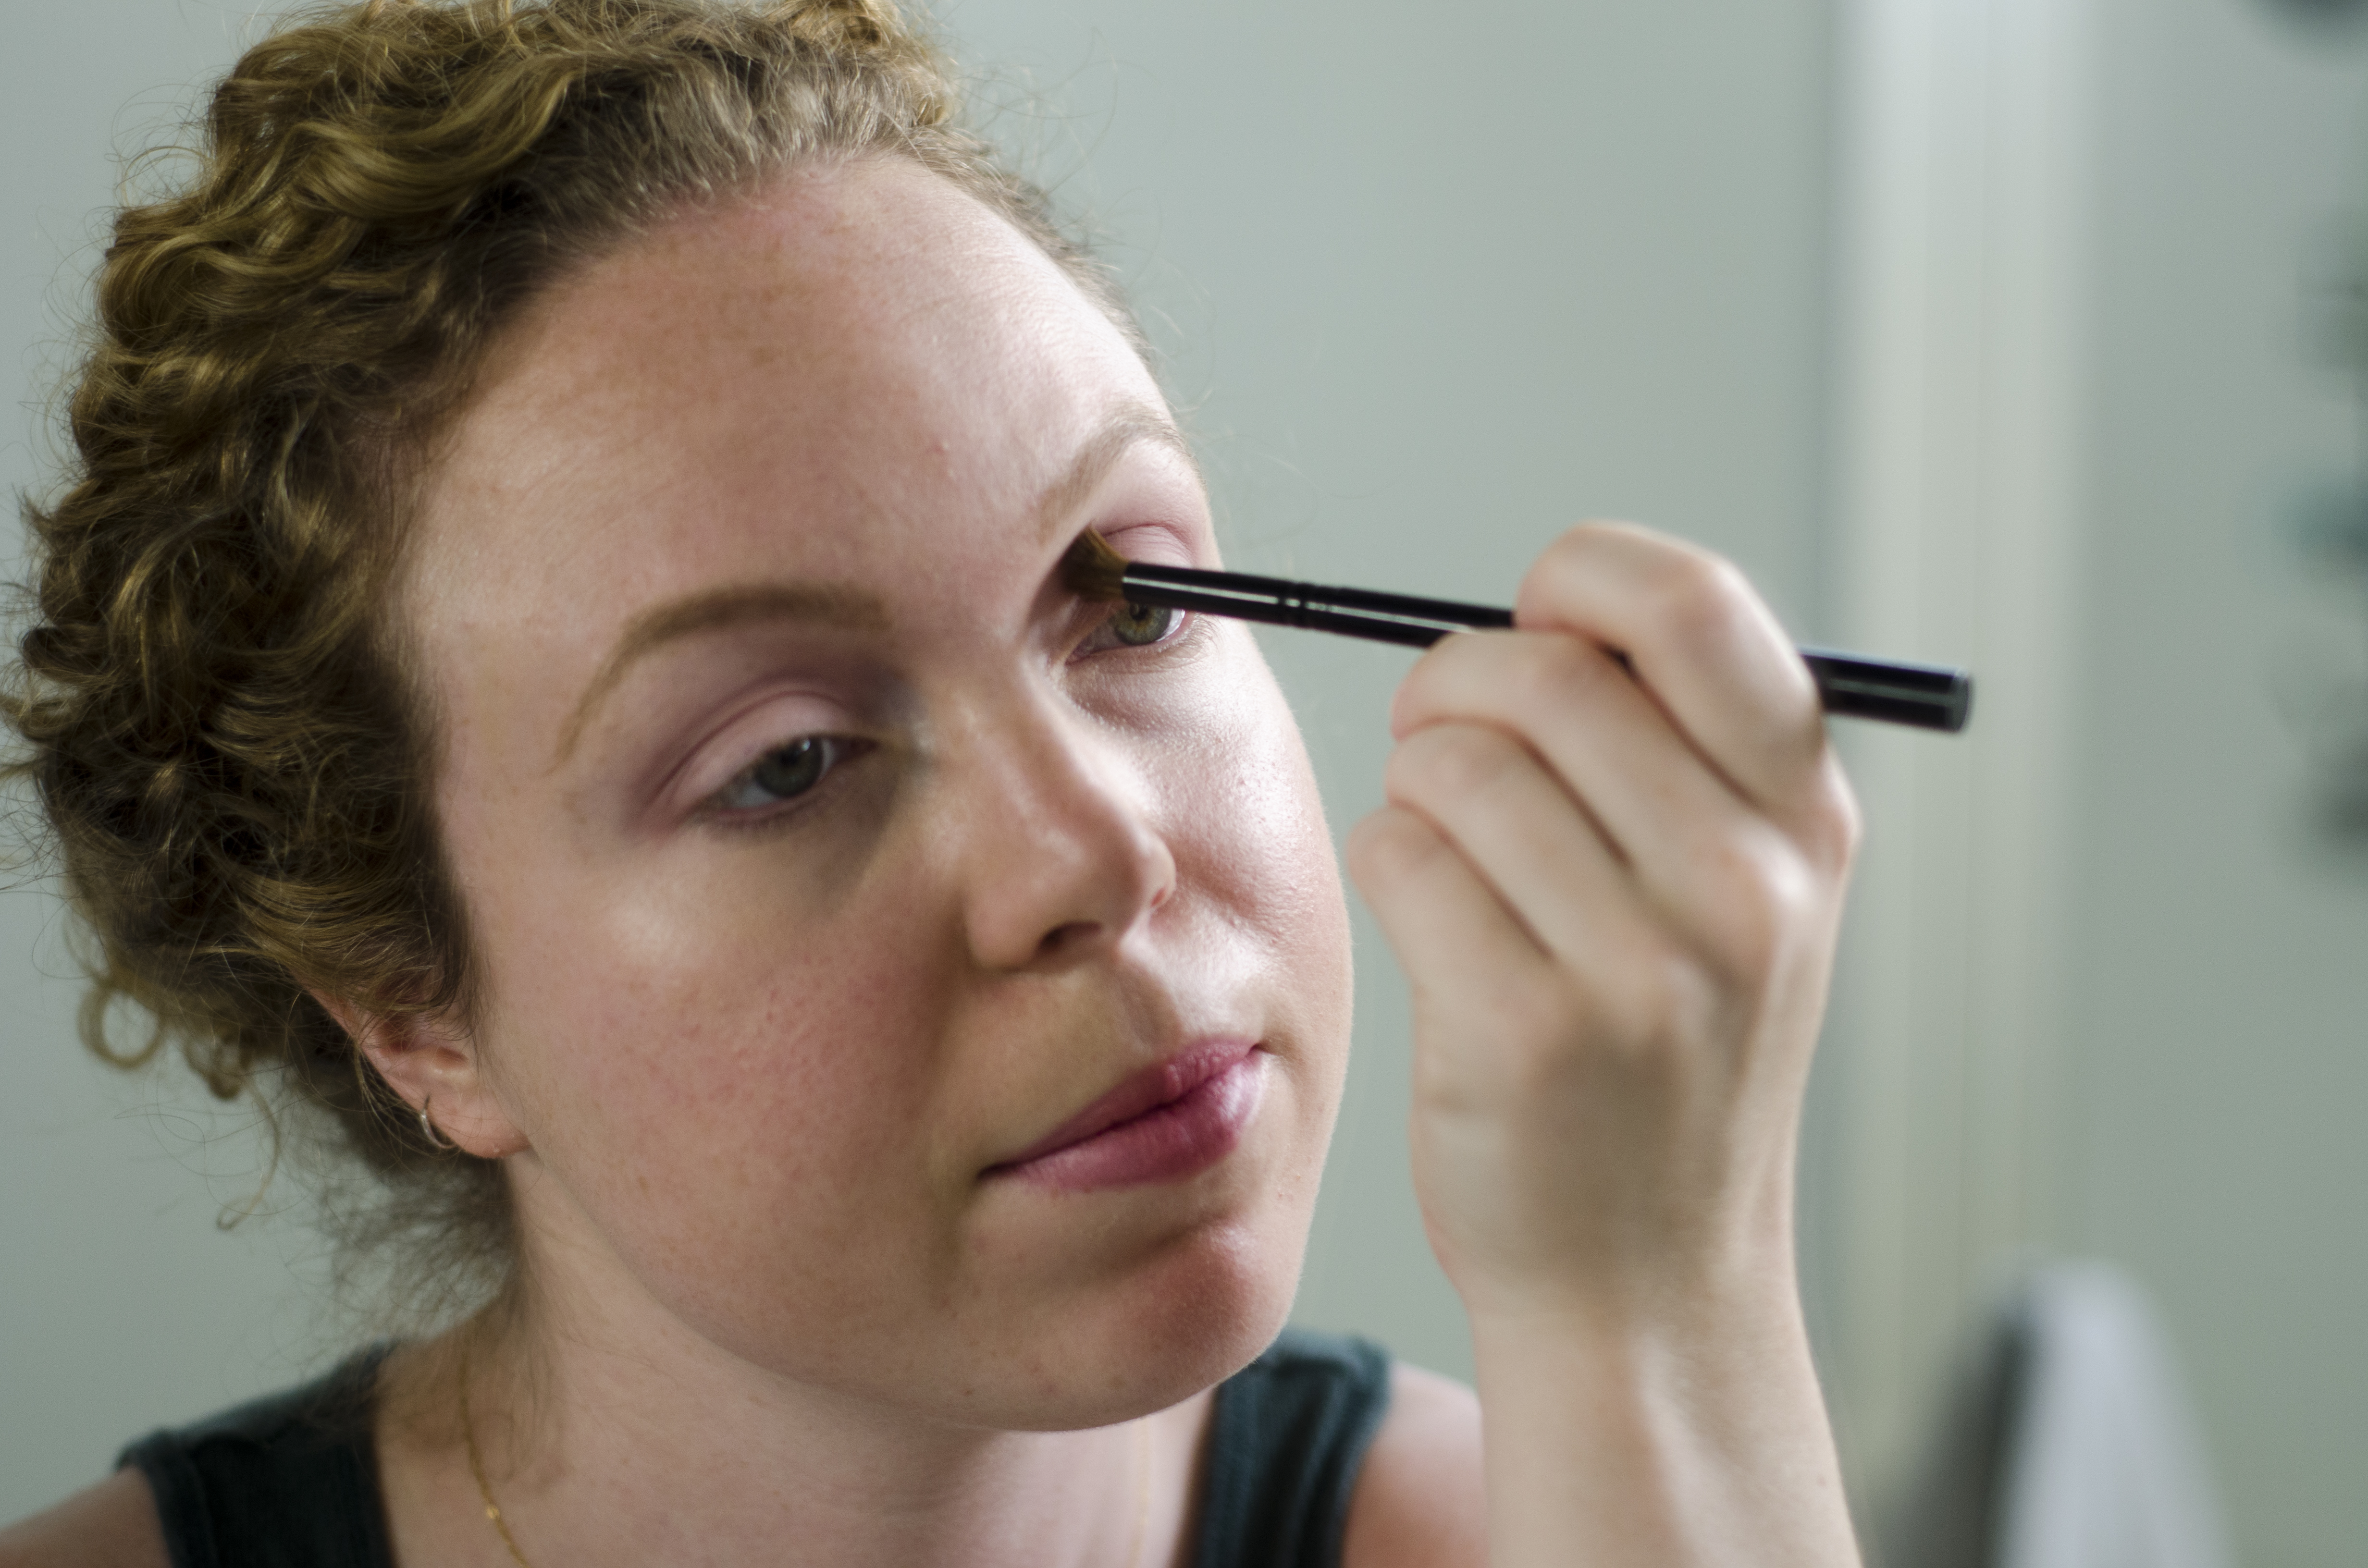
- After you’ve blended you can pick up some more color and lightly add it to your crease, blending as you go until you reach the desired darkness.
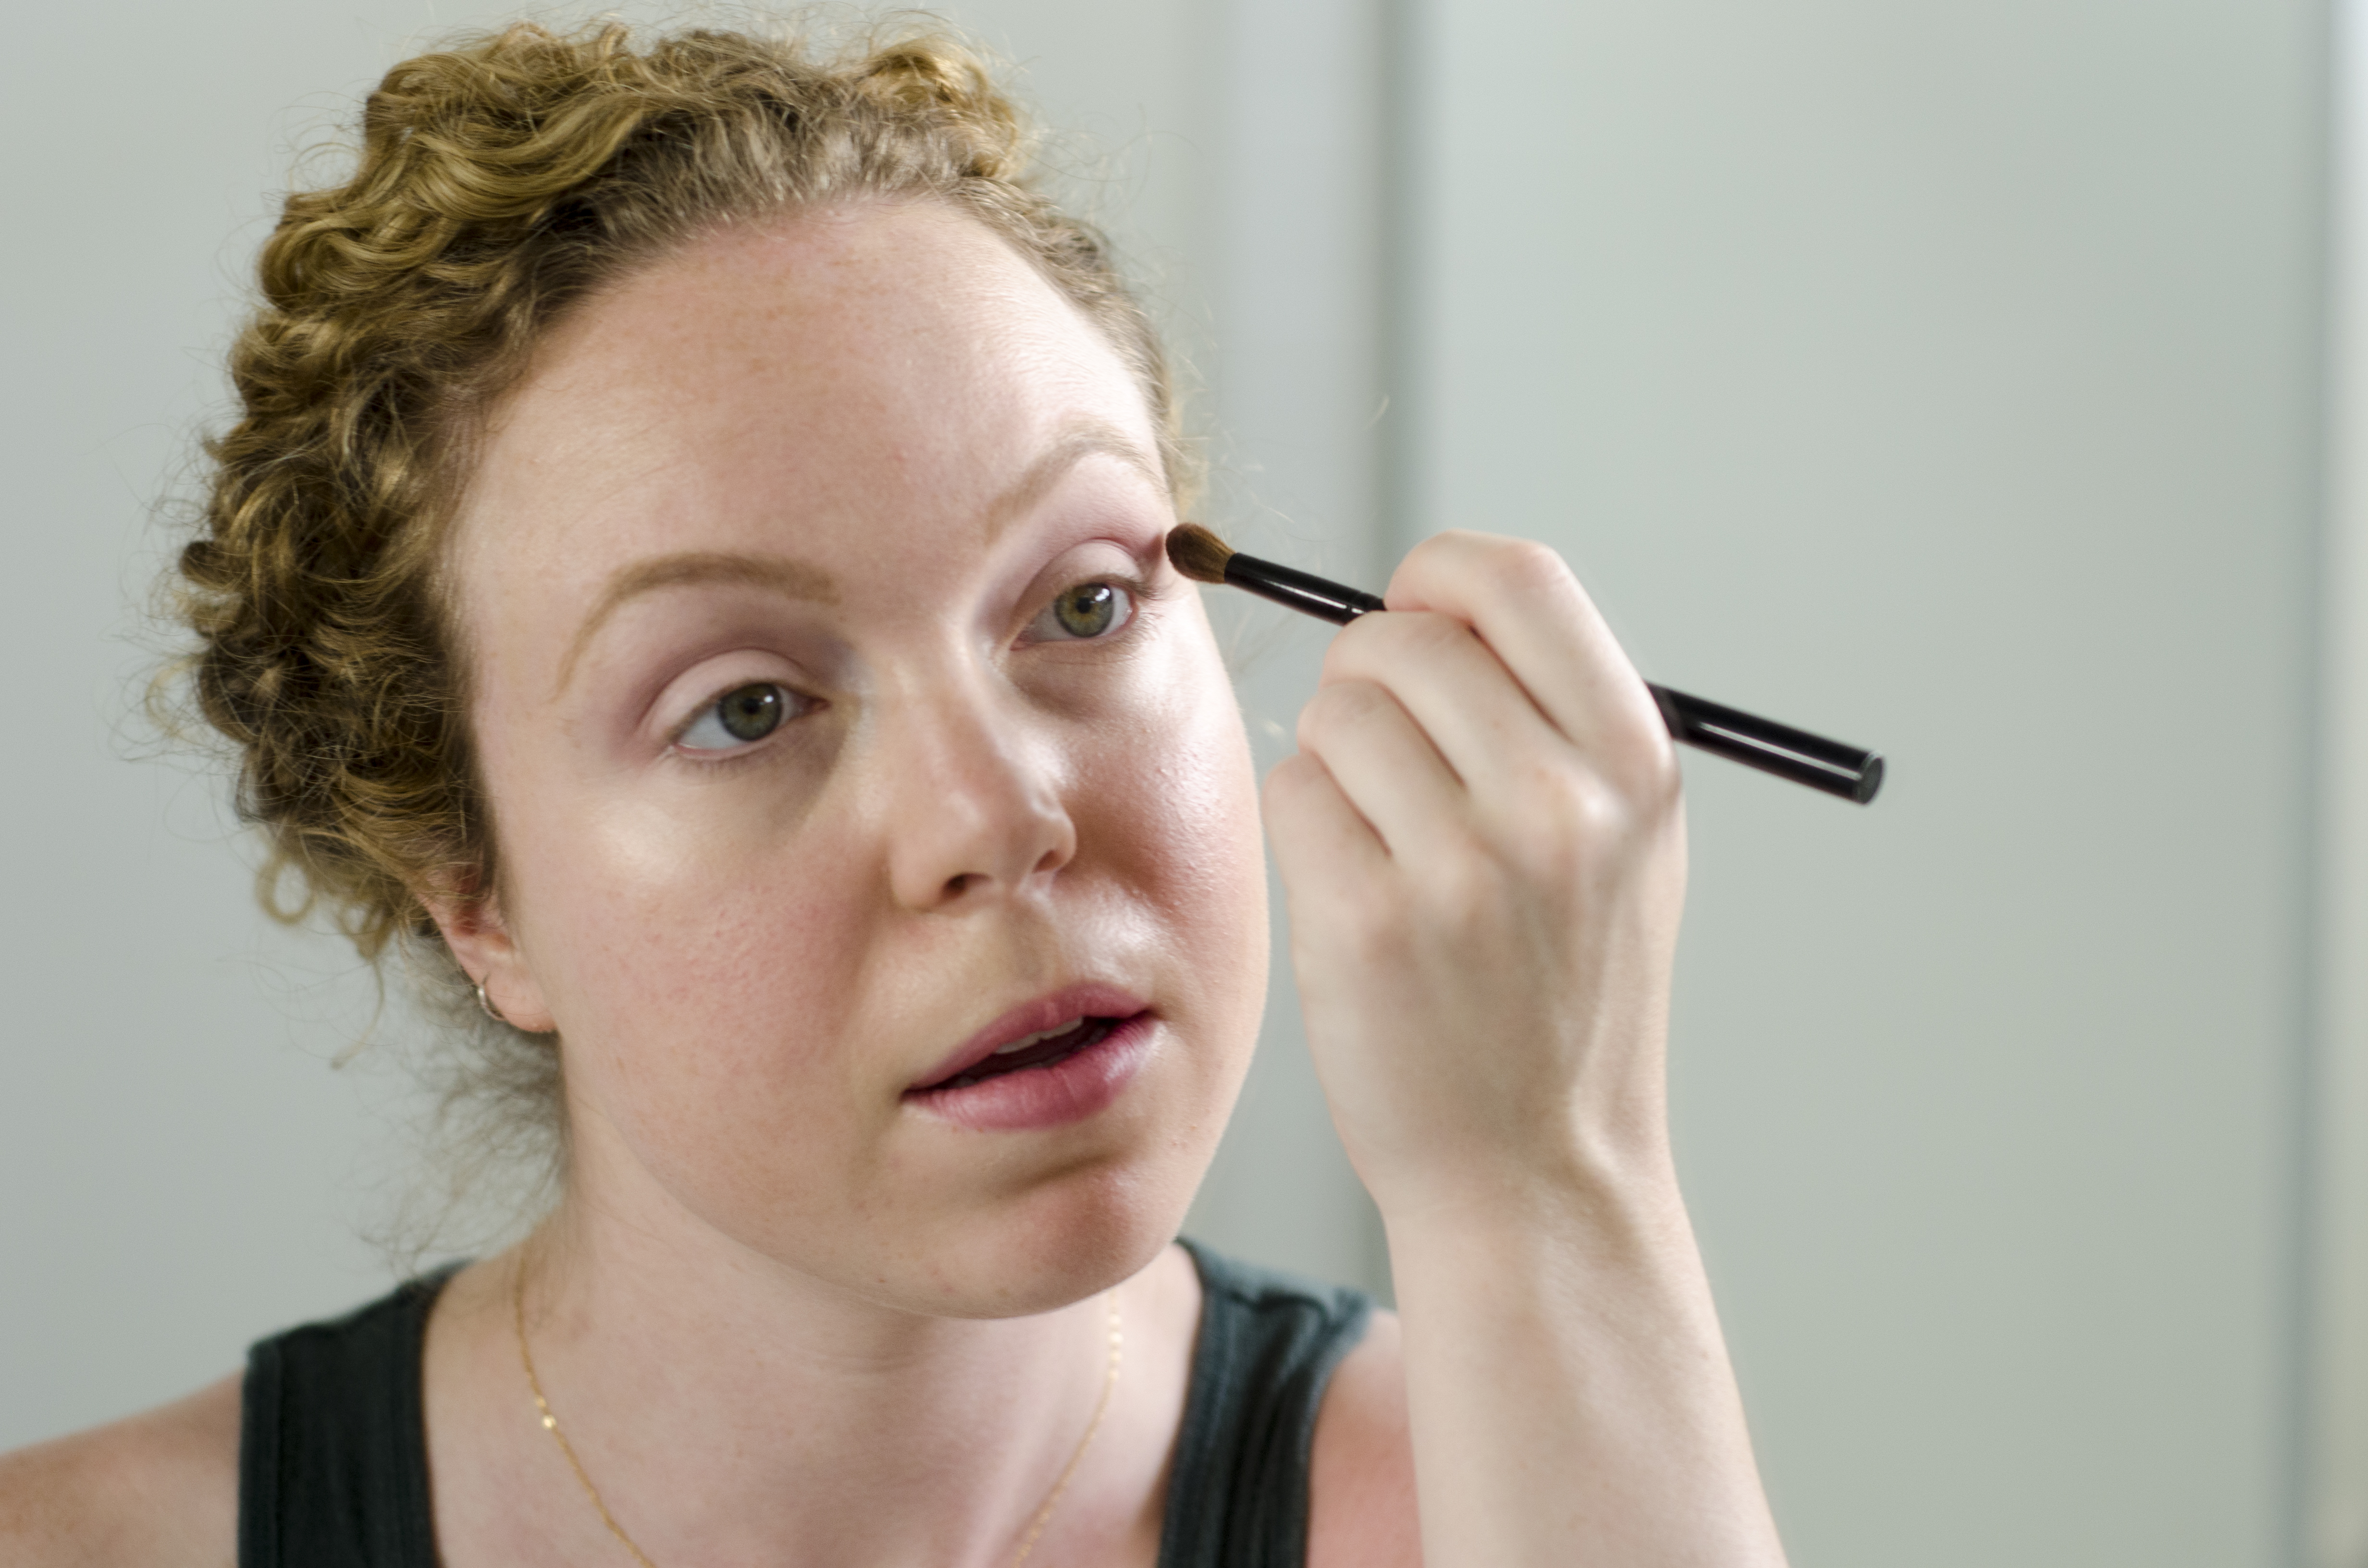
- To finish off the look, grab some more of your first color and apply to the center of your lid just above your lash line and beneath your eye brow. This will make your eyeshadow pop more, deepening the effect of your crease color.

- You’re done – it’s that simple!


Great looking guide! I love that palette. The shades are so versatile and they all compliment each other so well!
Yes – it’s my favorite palette!! I couldn’t agree more.
Great tutorial! I am in love with my pro palette too! I use Mauve all the time, its like the perfect transition shade for fair skin. My favorite everyday look is to pat champagne all over my lid, light blend taupe into my crease, then with a precision blending brush further define my crease with mauve.
Thanks for sharing you favorite look – I will definitely have to try that combination of shadows out! You’re right Mauve is the perfect shade for our skin tones 🙂