I love doing ombre nail designs, and it’s actually easier than you’d think! See below for a step-by-step instruction guide on how to recreate on your own ombre nails.
Here are the supplies you need: Nail polish remover, 2 complementary colors of your choice for the design, nail file/buffer, cotton pads & Q tips, and most importantly a makeup sponge (any shape will work).

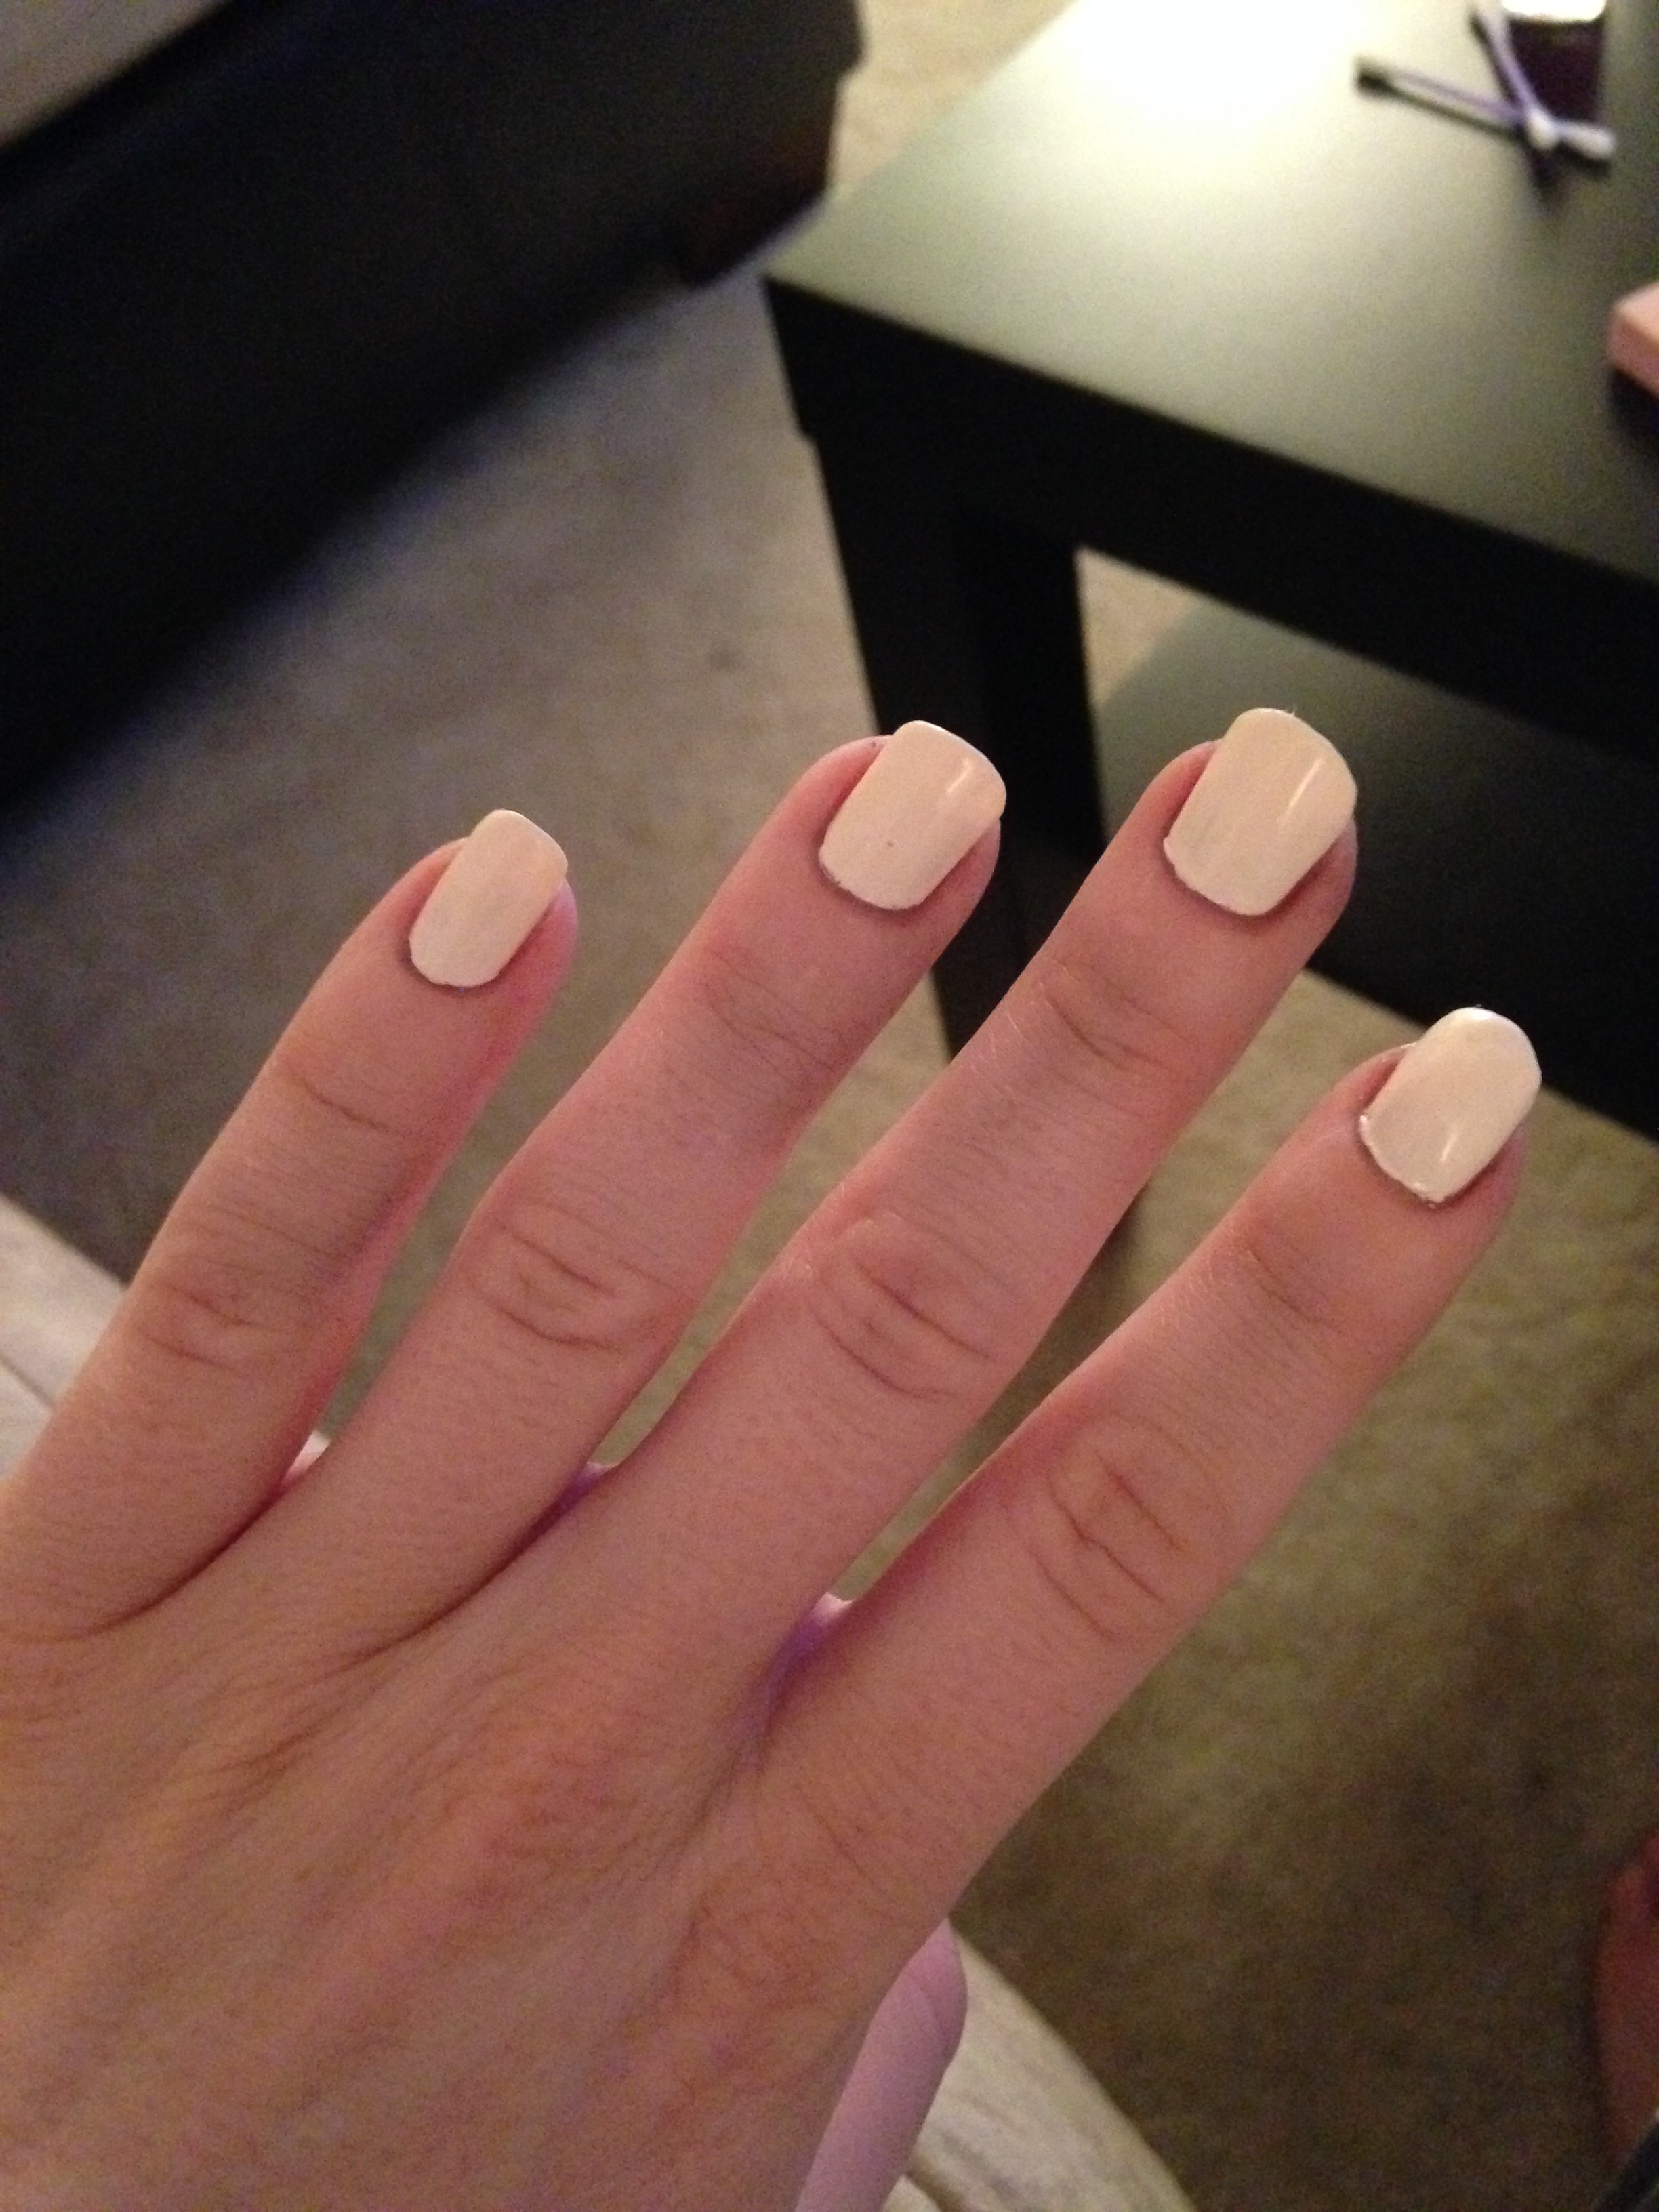
Remove any prior nail polish, file nails, and buff each nail to smooth and ensure polish stays longer. Apply your 1st polish color all over each nail, and wait to dry completely (at least 30 minutes).
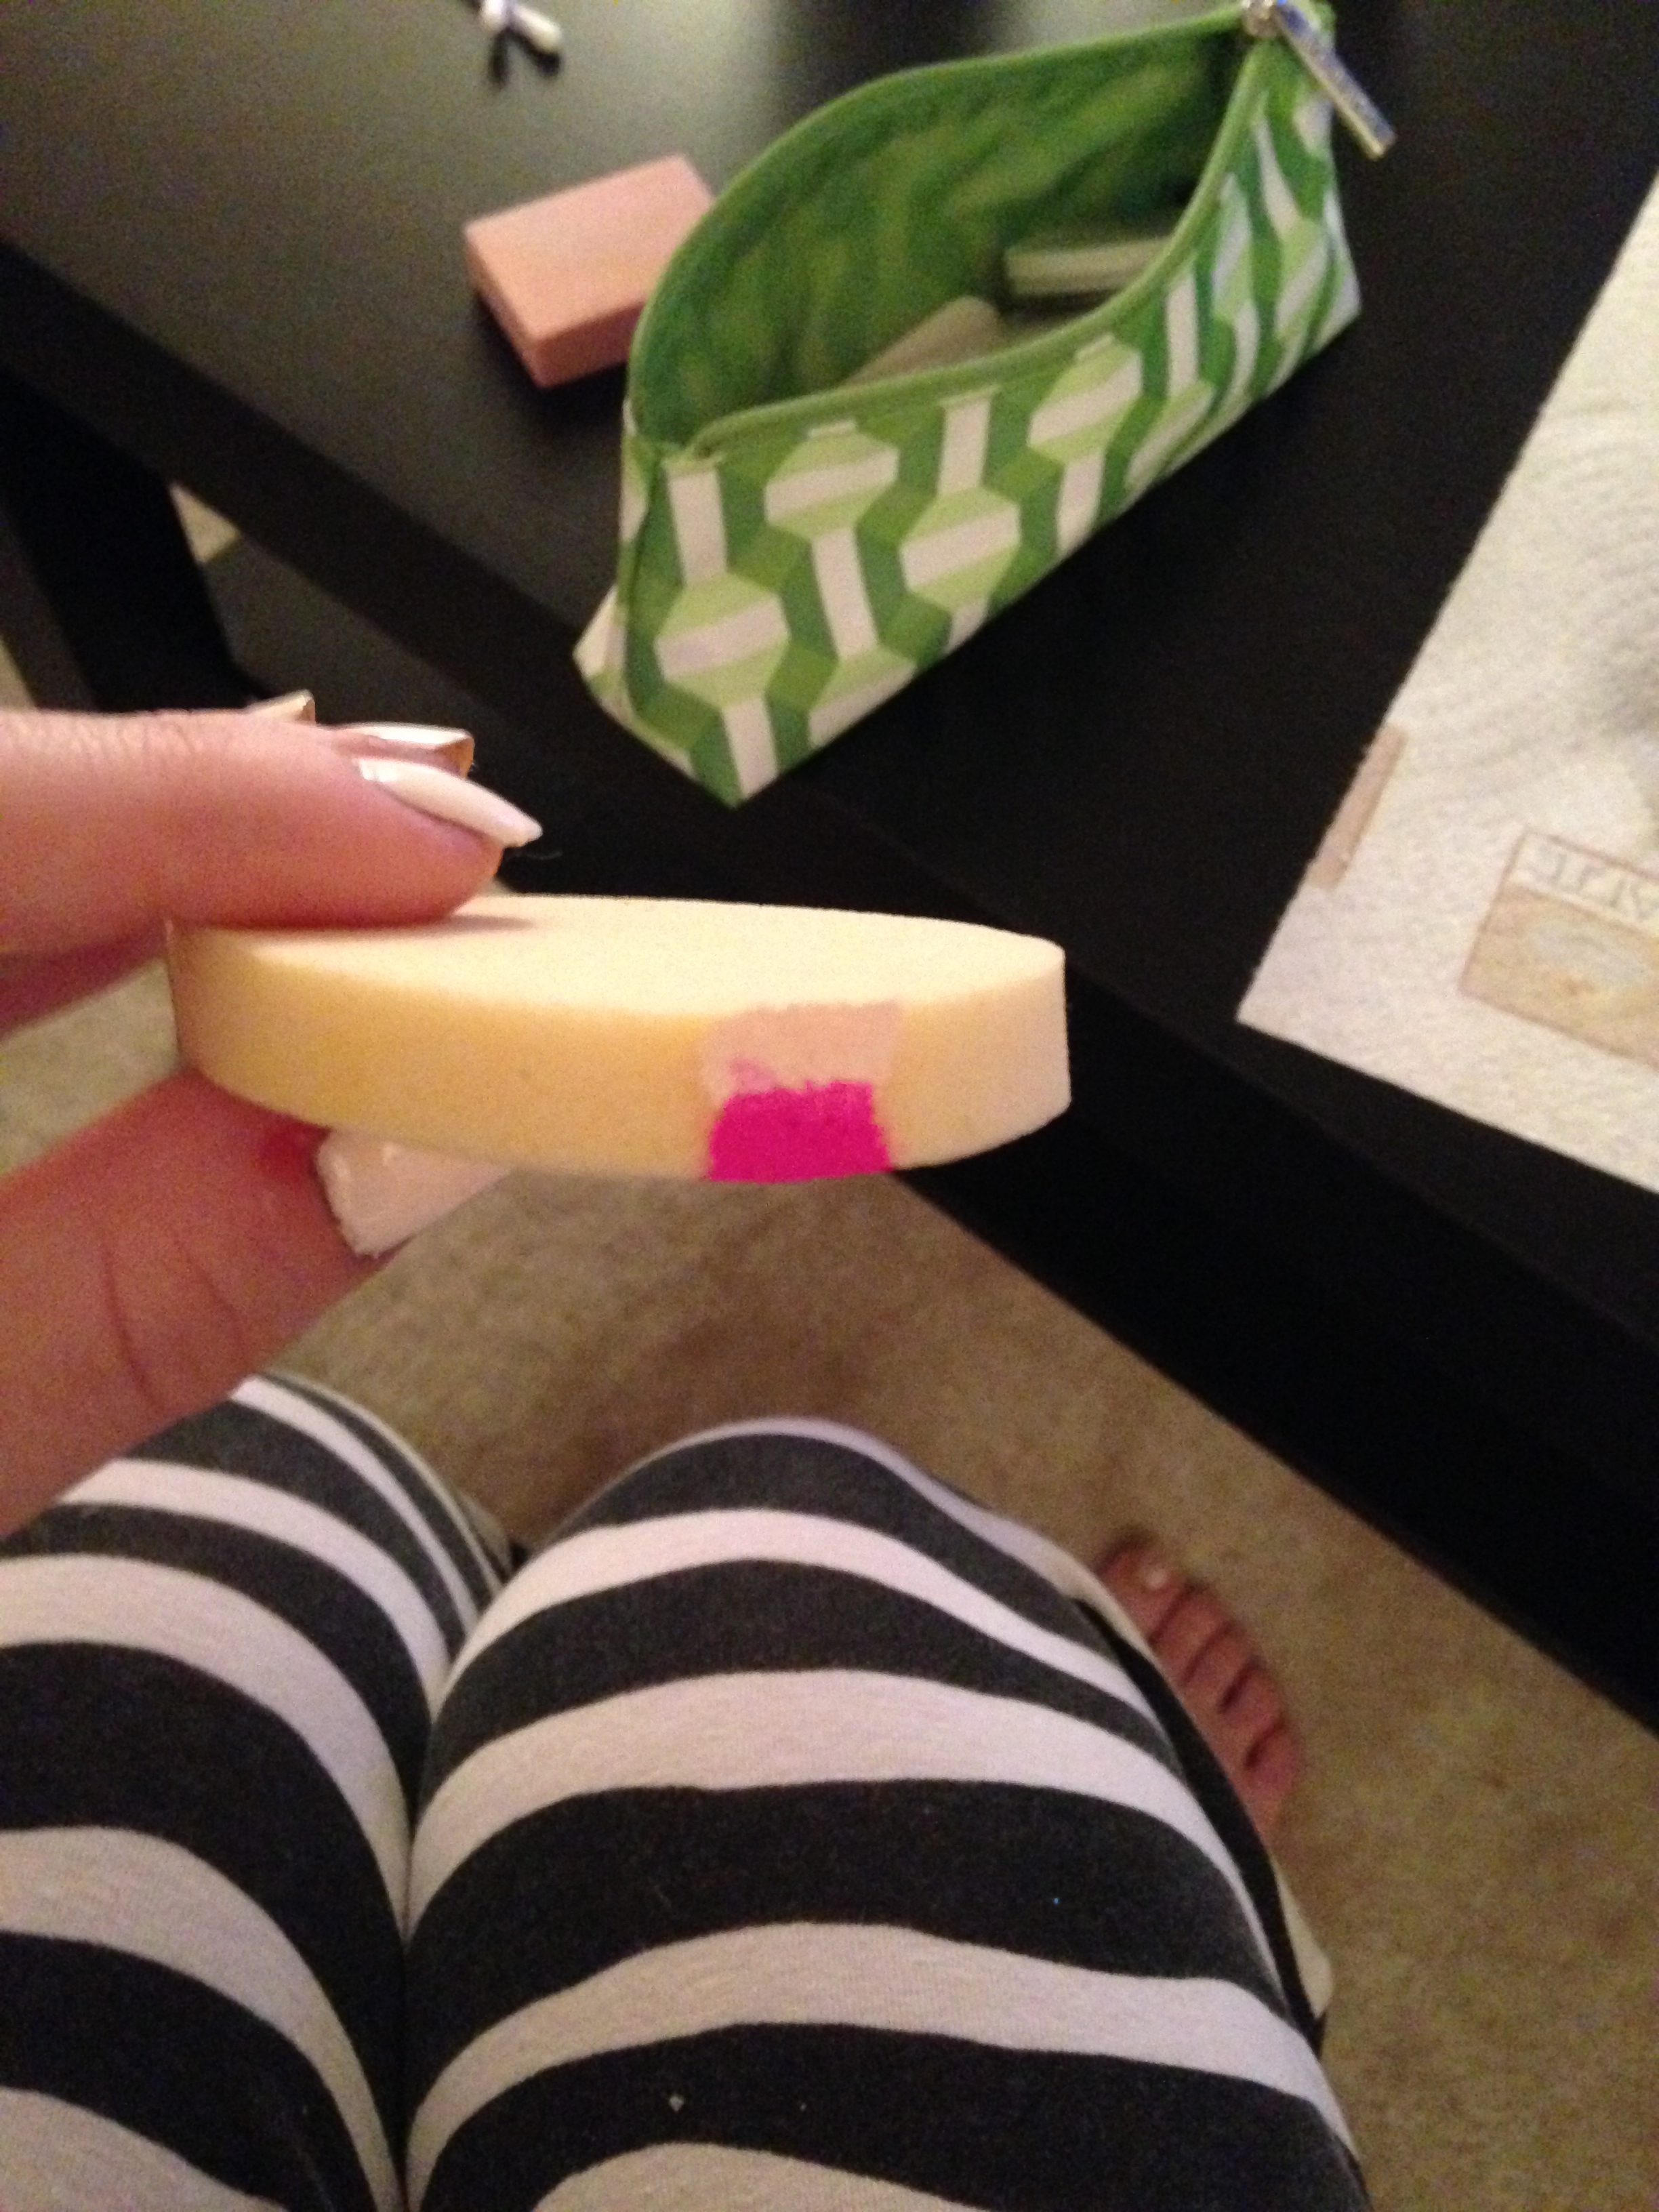
Next, involves creating the ombre design. Apply 2 strips of color on the makeup sponge using your colors (each about the same width and just long enough to cover the top half of your nail). Don’t let the colors dry, and quickly pat softly on your nail – focusing the complementary color towards the top of your nail.
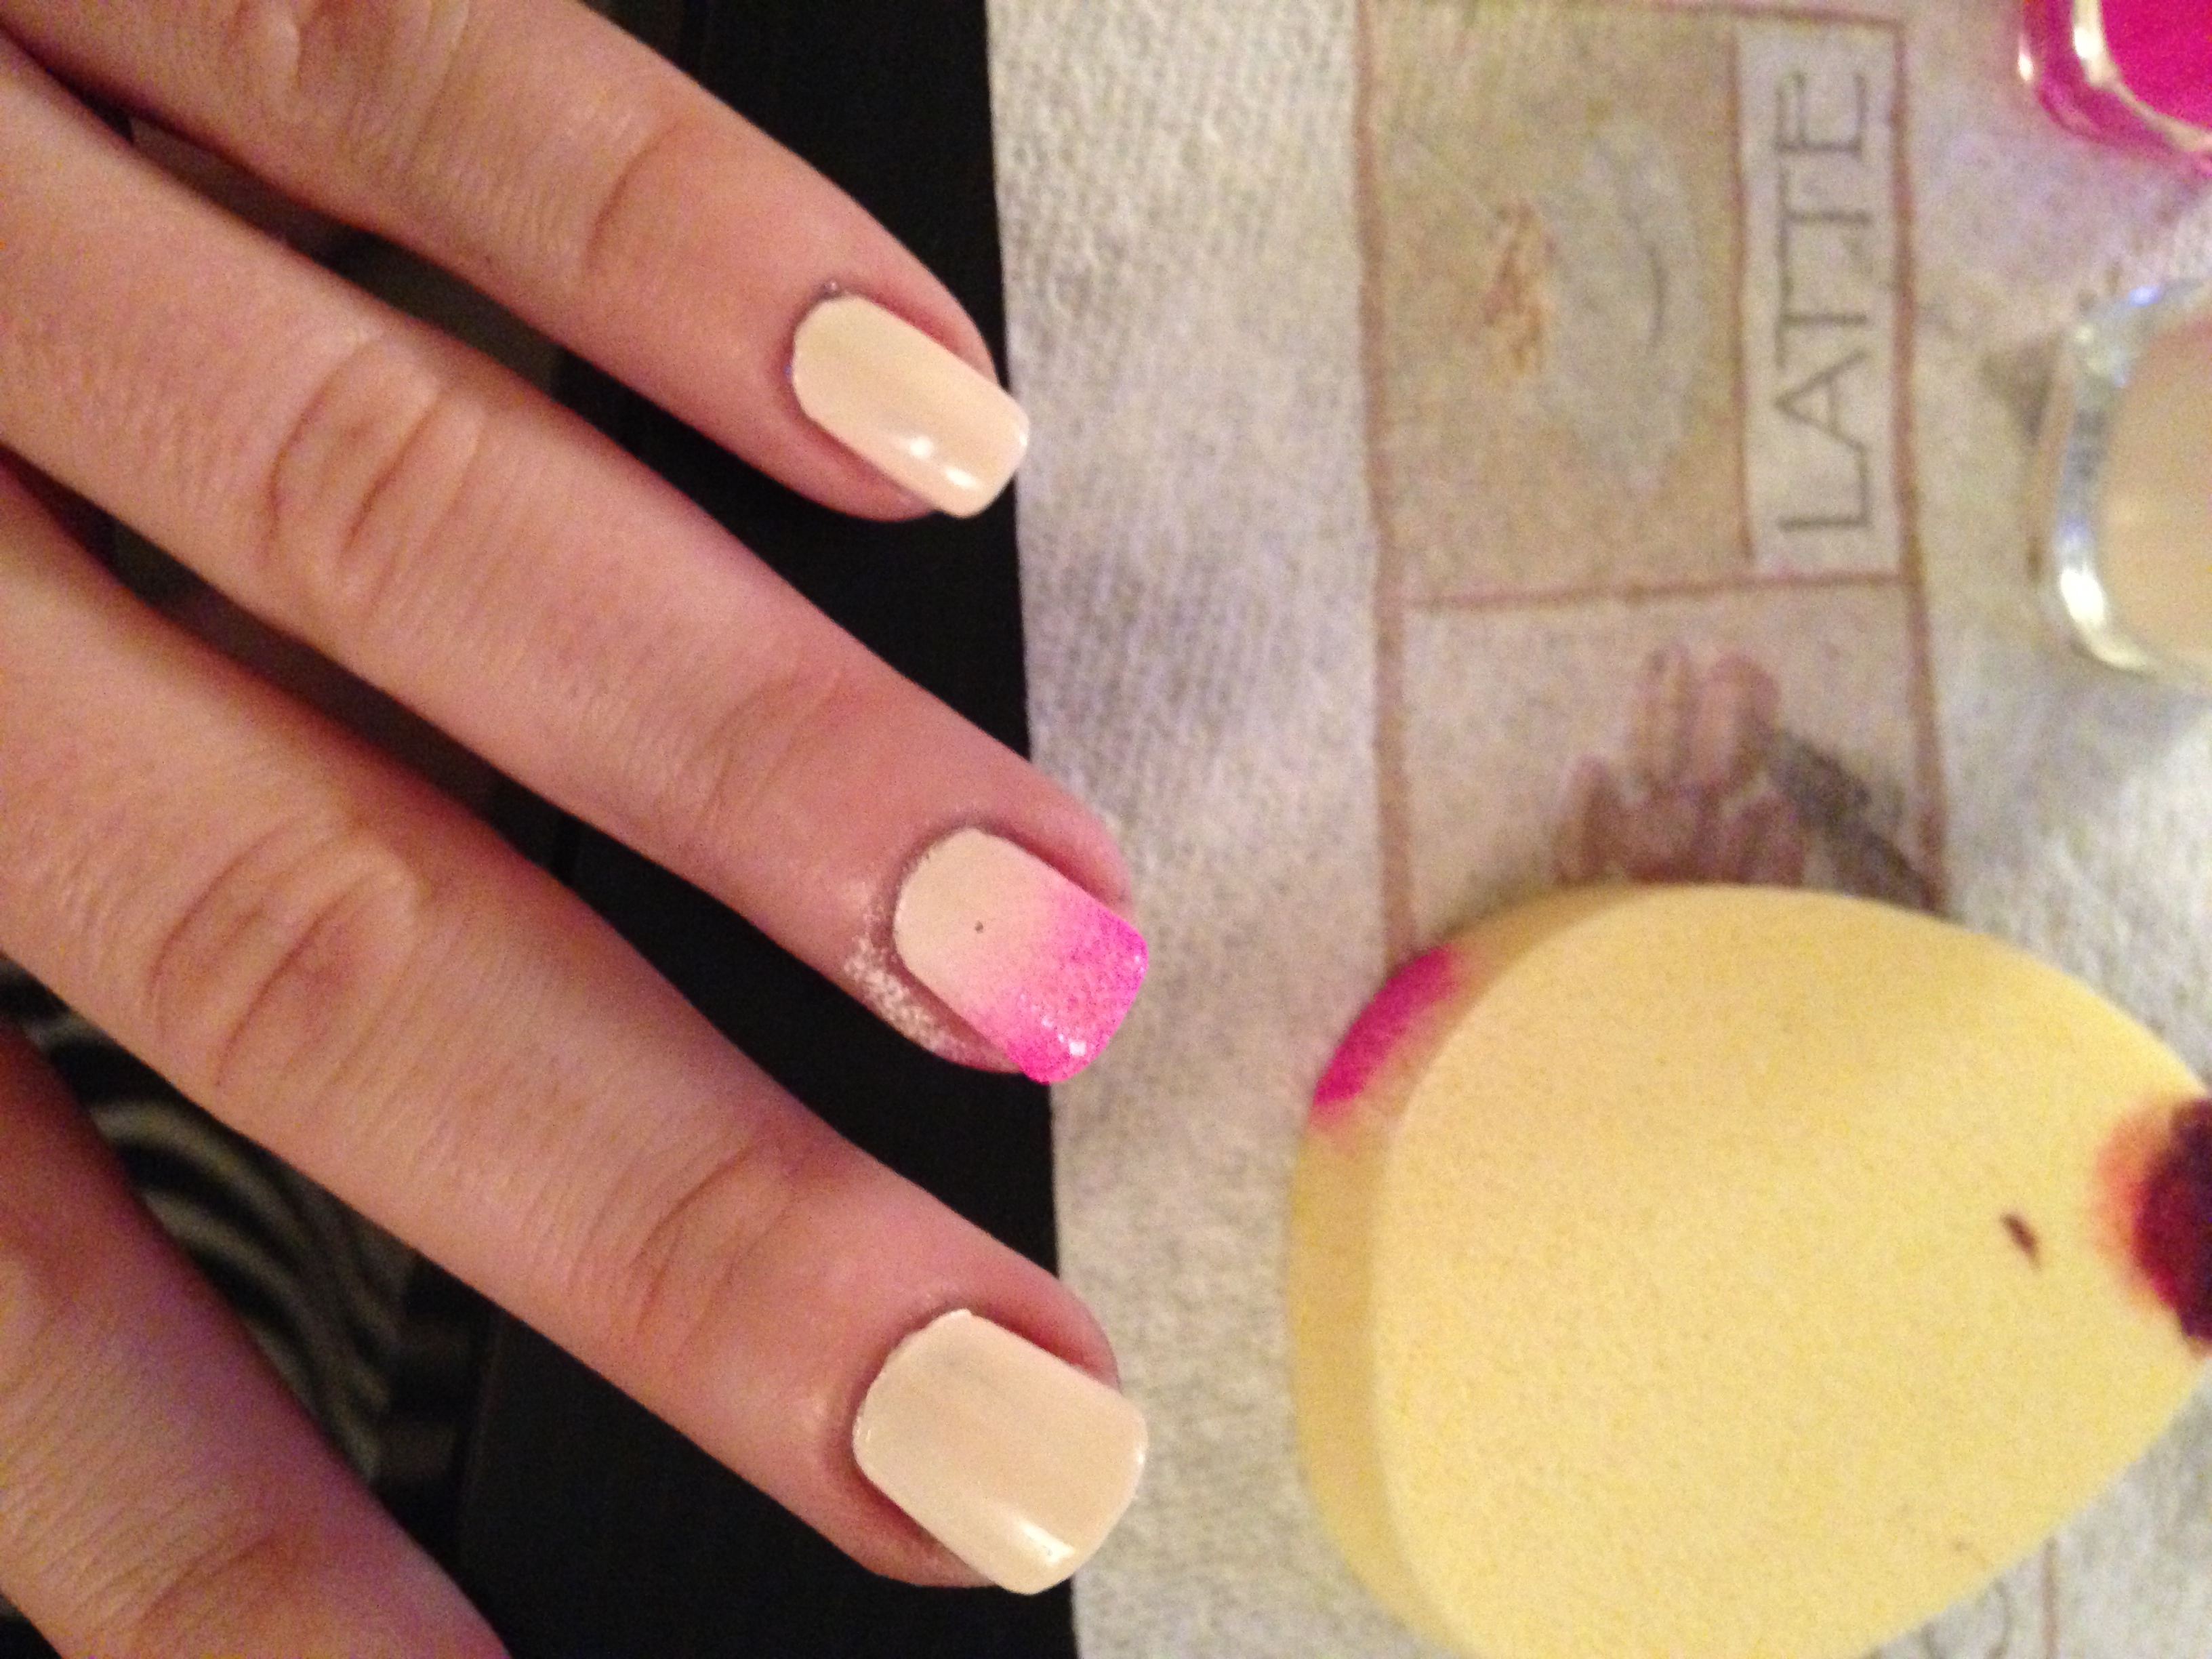
The sponging technique is actually very easy! Your final result should look something like this:
Clean up any polish on the skin with some Q tips and nail polish remover.

Finish with a clear top coat and let dry completely. Your beautiful ombre nails are now complete!

